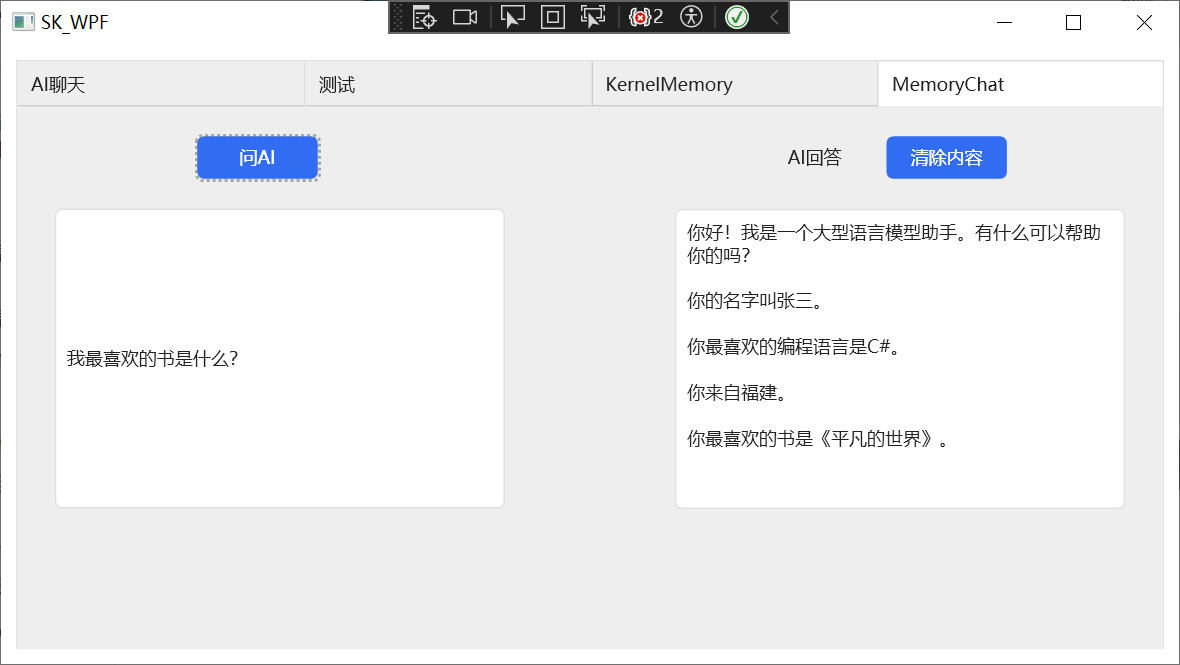
效果
使用gpt-3.5-turbo的效果
什么是向量数据库?
向量数据库是一种专为处理高维向量数据而设计的数据库系统。与传统的关系型数据库不同,向量数据库专注于存储和查询向量数据,例如图像、音频、文本等。其核心思想是将数据表示为向量形式,并通过向量之间的相似度来进行查询和分析。
向量数据库的特点包括高效的相似度搜索和复杂的查询操作。通过利用向量之间的相似度,可以快速检索与查询向量相似的数据,适用于大规模数据集和高维度数据。此外,向量数据库还支持复杂的查询操作,如范围查询、聚类和聚合等。
在实际应用中,向量数据库被广泛用于图像搜索、推荐系统、自然语言处理等领域。例如,在图像搜索中,可以利用向量数据库来存储图像的特征向量,并通过计算相似度来实现快速的图像检索。在推荐系统中,可以利用用户的特征向量来实现个性化推荐。
总之,向量数据库是一种适用于处理高维向量数据的数据库系统,具有高效的相似度搜索和复杂的查询操作,广泛应用于图像搜索、推荐系统等领域。
什么是嵌入?
嵌入是一种在高维空间中将单词或其他数据表示为向量的方法。向量就像有方向和长度的箭头。高维意味着空间有很多维度,比我们能看到或想象的要多。这个想法是,相似的单词或数据将具有相似的向量,而不同的单词或数据将具有不同的向量。这有助于我们衡量它们的相关或不相关程度,并对它们进行操作,例如加、减、乘等。嵌入对 AI 模型很有用,因为它们可以以计算机可以理解和处理的方式捕获单词或数据的含义和上下文。
所以基本上你拿一个句子、段落或整页文本,然后生成相应的嵌入向量。当执行查询时,查询将转换为其嵌入表示形式,然后通过所有现有的嵌入向量执行搜索以找到最相似的嵌入向量。这类似于在必应上进行搜索查询时,它会为您提供与查询近似的多个结果。语义记忆不太可能给你一个完全匹配,但它总是会给你一组匹配,根据你的查询与其他文本的相似程度进行排名。
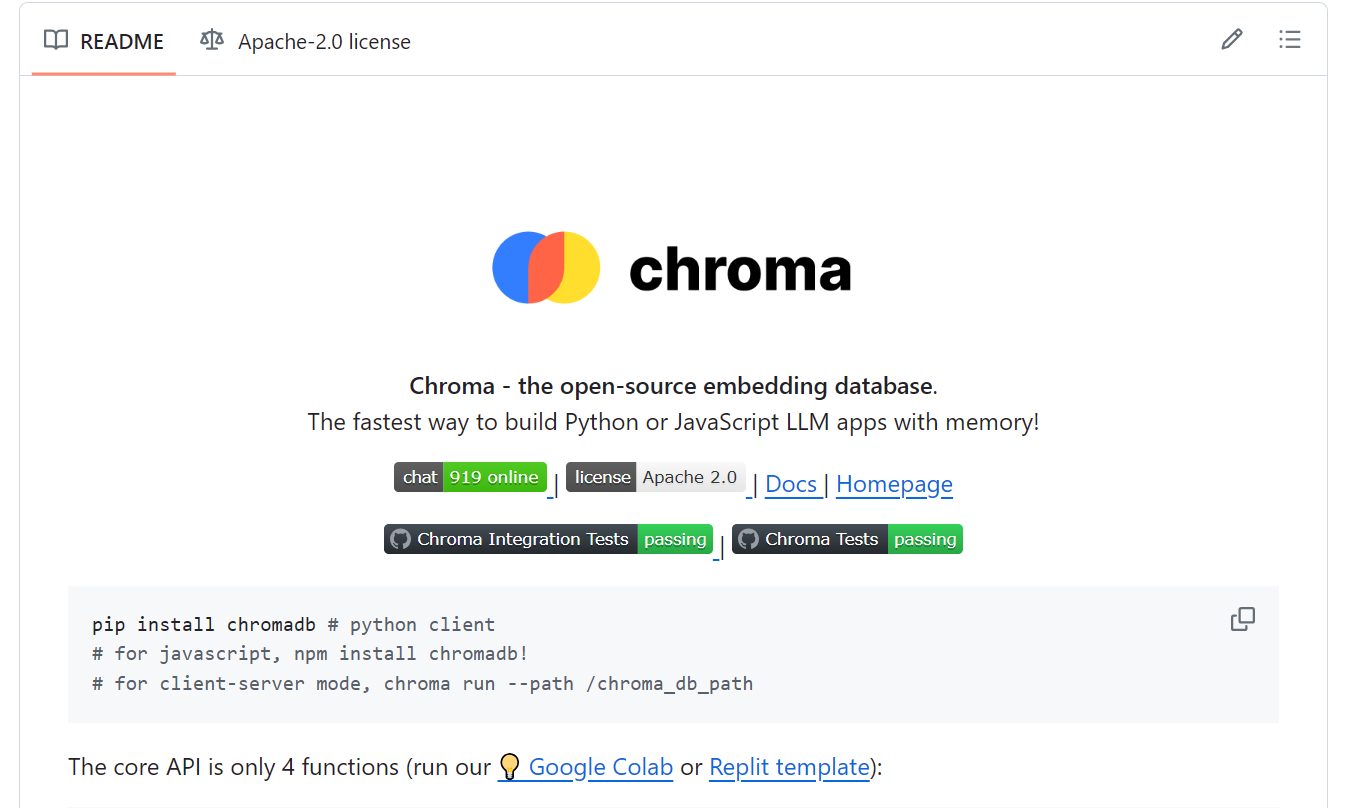
Chroma向量数据库
在本示例中,我使用的是Chroma向量数据库。
在docker中运行chroma:
docker pull chromadb/chroma
docker run -p 8000:8000 chromadb/chroma
成功启动如下所示:

创建ISemanticTextMemory
因为向量数据库使用的是Chroma,因此需要下载这个包:

#pragma warning disable SKEXP0003
            ISemanticTextMemory? memory;
#pragma warning disable SKEXP0003
            var memoryBuilder = new MemoryBuilder();
#pragma warning disable SKEXP0011
            memoryBuilder.WithOpenAITextEmbeddingGeneration("text-embedding-ada-002", envVars["OpenAIAPIKey"]);

#pragma warning disable SKEXP0022
            var chromaMemoryStore = new ChromaMemoryStore("http://127.0.0.1:8000");

            memoryBuilder.WithMemoryStore(chromaMemoryStore);

            memory = memoryBuilder.Build();
ISemanticTextMemory
语义记忆的接口,用于创建和调用与文本相关的记忆。
WithOpenAITextEmbeddingGeneration
添加 OpenAI 文本嵌入服务。
ChromaMemoryStore
用于 Chroma 的 IMemoryStore 的实现。
本地需要开启Chroma服务。
保存自有数据
 // 创建 OpenFileDialog 对象
 OpenFileDialog openFileDialog = new OpenFileDialog();

 // 设置文件类型过滤器
 openFileDialog.Filter = "Text files (*.txt)|*.txt|All files (*.*)|*.*";

 // 显示文件选择对话框
 if (openFileDialog.ShowDialog() == true)
 {
     // 用户选择了一个文件,你可以通过 openFileDialog.FileName 获取文件的路径
     string filePath = openFileDialog.FileName;
     HandyControl.Controls.MessageBox.Show($"你选中的路径为{filePath}");

     var text = File.ReadAllText(filePath);

     const string MemoryCollectionName = "hello2";

     var id = Guid.NewGuid().ToString();

     await memory.SaveInformationAsync(MemoryCollectionName, id: id, text: text);

     HandyControl.Controls.MessageBox.Show($"完成");
这是以选择一个txt文件为例,核心就一行代码:
await memory.SaveInformationAsync(MemoryCollectionName, id: id, text: text);
将一些信息保存到Semantic Memory中。
查看该方法的定义:
Task<string> SaveInformationAsync(string collection, string text, string id, string? description = null, string? additionalMetadata = null, Kernel? kernel = null, CancellationToken cancellationToken = default(CancellationToken));
参数及含义:
|
参数名
|
类型
|
含义
|
| collection |
string |
保存数据的集合名 |
| text |
string |
要保存的数据 |
| id |
string |
唯一标识符 |
| description |
string? |
描述 |
| additionalMetadata |
string? |
额外的元数据 |
| kernel |
Kernel? |
包含服务、插件和其他状态的内核,供整个操作使用 |
| cancellationToken |
CancellationToken |
用于监视取消请求的 CancellationToken。默认值为 None |
前面三项是必填的,其他项都有默认值。
const string MemoryCollectionName = "hello2";
经过我的测试,集合名要是英文,中文会报错。
创建TextMemoryPlugin
代码如下所示:
/// <summary>
/// TextMemoryPlugin provides a plugin to save or recall information from the long or short term memory.
/// </summary>
[Experimental("SKEXP0003")]
public sealed class TextMemoryPlugin
{
    /// <summary>
    /// Name used to specify the input text.
    /// </summary>
    public const string InputParam = "input";
    /// <summary>
    /// Name used to specify which memory collection to use.
    /// </summary>
    public const string CollectionParam = "collection";

    /// <summary>
    /// Name used to specify memory search relevance score.
    /// </summary>
    public const string RelevanceParam = "relevance";

    /// <summary>
    /// Name used to specify a unique key associated with stored information.
    /// </summary>
    public const string KeyParam = "key";

    /// <summary>
    /// Name used to specify the number of memories to recall
    /// </summary>
    public const string LimitParam = "limit";

    private const string DefaultCollection = "generic";
    private const double DefaultRelevance = 0.0;
    private const int DefaultLimit = 1;

    private readonly ISemanticTextMemory _memory;
    private readonly ILogger _logger;

    /// <summary>
    /// Creates a new instance of the TextMemoryPlugin
    /// </summary>
    public TextMemoryPlugin(
        ISemanticTextMemory memory,
        ILoggerFactory? loggerFactory = null)
    {
        this._memory = memory;
        this._logger = loggerFactory?.CreateLogger(typeof(TextMemoryPlugin)) ?? NullLogger.Instance;
    }

    /// <summary>
    /// Key-based lookup for a specific memory
    /// </summary>
    /// <param name="key">The key associated with the memory to retrieve.</param>
    /// <param name="collection">Memories collection associated with the memory to retrieve</param>
    /// <param name="cancellationToken">The <see cref="CancellationToken"/> to monitor for cancellation requests. The default is <see cref="CancellationToken.None"/>.</param>
    [KernelFunction, Description("Key-based lookup for a specific memory")]
    public async Task<string> RetrieveAsync(
        [Description("The key associated with the memory to retrieve")] string key,
        [Description("Memories collection associated with the memory to retrieve")] string? collection = DefaultCollection,
        CancellationToken cancellationToken = default)
    {

        if (this._logger.IsEnabled(LogLevel.Debug))
        {
            this._logger.LogDebug("Recalling memory with key '{0}' from collection '{1}'", key, collection);
        }

        var memory = await this._memory.GetAsync(collection, key, cancellationToken: cancellationToken).ConfigureAwait(false);

        return memory?.Metadata.Text ?? string.Empty;
    }

    /// <summary>
    /// Semantic search and return up to N memories related to the input text
    /// </summary>
    /// <param name="input">The input text to find related memories for.</param>
    /// <param name="collection">Memories collection to search.</param>
    /// <param name="relevance">The relevance score, from 0.0 to 1.0, where 1.0 means perfect match.</param>
    /// <param name="limit">The maximum number of relevant memories to recall.</param>
    /// <param name="cancellationToken">The <see cref="CancellationToken"/> to monitor for cancellation requests. The default is <see cref="CancellationToken.None"/>.</param>
    [KernelFunction, Description("Semantic search and return up to N memories related to the input text")]
    public async Task<string> RecallAsync(
        [Description("The input text to find related memories for")] string input,
        [Description("Memories collection to search")] string collection = DefaultCollection,
        [Description("The relevance score, from 0.0 to 1.0, where 1.0 means perfect match")] double? relevance = DefaultRelevance,
        [Description("The maximum number of relevant memories to recall")] int? limit = DefaultLimit,
        CancellationToken cancellationToken = default)
    {

        relevance ??= DefaultRelevance;
        limit ??= DefaultLimit;

        if (this._logger.IsEnabled(LogLevel.Debug))
        {
            this._logger.LogDebug("Searching memories in collection '{0}', relevance '{1}'", collection, relevance);
        }

        // Search memory
        List<MemoryQueryResult> memories = await this._memory
            .SearchAsync(collection, input, limit.Value, relevance.Value, cancellationToken: cancellationToken)
            .ToListAsync(cancellationToken)
            .ConfigureAwait(false);

        if (memories.Count == 0)
        {
            if (this._logger.IsEnabled(LogLevel.Warning))
            {
                this._logger.LogWarning("Memories not found in collection: {0}", collection);
            }
            return string.Empty;
        }

        return limit == 1 ? memories[0].Metadata.Text : JsonSerializer.Serialize(memories.Select(x => x.Metadata.Text));
    }

    /// <summary>
    /// Save information to semantic memory
    /// </summary>
    /// <param name="input">The information to save</param>
    /// <param name="key">The key associated with the information to save</param>
    /// <param name="collection">Memories collection associated with the information to save</param>
    /// <param name="cancellationToken">The <see cref="CancellationToken"/> to monitor for cancellation requests. The default is <see cref="CancellationToken.None"/>.</param>
    [KernelFunction, Description("Save information to semantic memory")]
    public async Task SaveAsync(
        [Description("The information to save")] string input,
        [Description("The key associated with the information to save")] string key,
        [Description("Memories collection associated with the information to save")] string collection = DefaultCollection,
        CancellationToken cancellationToken = default)
    {

        if (this._logger.IsEnabled(LogLevel.Debug))
        {
            this._logger.LogDebug("Saving memory to collection '{0}'", collection);
        }

        await this._memory.SaveInformationAsync(collection, text: input, id: key, cancellationToken: cancellationToken).ConfigureAwait(false);
    }

    /// <summary>
    /// Remove specific memory
    /// </summary>
    /// <param name="key">The key associated with the information to save</param>
    /// <param name="collection">Memories collection associated with the information to save</param>
    /// <param name="cancellationToken">The <see cref="CancellationToken"/> to monitor for cancellation requests. The default is <see cref="CancellationToken.None"/>.</param>
    [KernelFunction, Description("Remove specific memory")]
    public async Task RemoveAsync(
        [Description("The key associated with the information to save")] string key,
        [Description("Memories collection associated with the information to save")] string collection = DefaultCollection,
        CancellationToken cancellationToken = default)
    {

        if (this._logger.IsEnabled(LogLevel.Debug))
        {
            this._logger.LogDebug("Removing memory from collection '{0}'", collection);
        }

        await this._memory.RemoveAsync(collection, key, cancellationToken: cancellationToken).ConfigureAwait(false);
    }
}
比较长,可以以后用到了什么函数再慢慢看,等一会我们就要接触到的函数如下:
/// <summary>
/// Semantic search and return up to N memories related to the input text
/// </summary>
/// <param name="input">The input text to find related memories for.</param>
/// <param name="collection">Memories collection to search.</param>
/// <param name="relevance">The relevance score, from 0.0 to 1.0, where 1.0 means perfect match.</param>
/// <param name="limit">The maximum number of relevant memories to recall.</param>
/// <param name="cancellationToken">The <see cref="CancellationToken"/> to monitor for cancellation requests. The default is <see cref="CancellationToken.None"/>.</param>
[KernelFunction, Description("Semantic search and return up to N memories related to the input text")]
public async Task<string> RecallAsync(
    [Description("The input text to find related memories for")] string input,
    [Description("Memories collection to search")] string collection = DefaultCollection,
    [Description("The relevance score, from 0.0 to 1.0, where 1.0 means perfect match")] double? relevance = DefaultRelevance,
    [Description("The maximum number of relevant memories to recall")] int? limit = DefaultLimit,
    CancellationToken cancellationToken = default)
{

    relevance ??= DefaultRelevance;
    limit ??= DefaultLimit;

    if (this._logger.IsEnabled(LogLevel.Debug))
    {
        this._logger.LogDebug("Searching memories in collection '{0}', relevance '{1}'", collection, relevance);
    }

    // Search memory
    List<MemoryQueryResult> memories = await this._memory
        .SearchAsync(collection, input, limit.Value, relevance.Value, cancellationToken: cancellationToken)
        .ToListAsync(cancellationToken)
        .ConfigureAwait(false);

    if (memories.Count == 0)
    {
        if (this._logger.IsEnabled(LogLevel.Warning))
        {
            this._logger.LogWarning("Memories not found in collection: {0}", collection);
        }
        return string.Empty;
    }

    return limit == 1 ? memories[0].Metadata.Text : JsonSerializer.Serialize(memories.Select(x => x.Metadata.Text));
}
一步一步来看:
[KernelFunction, Description("Semantic search and return up to N memories related to the input text")]
KernelFunction
是一个特性,可能是用于标记这个方法作为某种内核函数的一部分。具体的含义取决于这个特性是如何在代码中被使用的。
Description
是.NET框架中的一个标准特性,它提供了一个人类可读的描述,这个描述可以在运行时通过反射来访问。在这个例子中,它提供了对 RecallAsync 方法的简单描述:"Semantic search and return up to N memories related to the input text"。
public async Task<string> RecallAsync(
    [Description("The input text to find related memories for")] string input,
    [Description("Memories collection to search")] string collection = DefaultCollection,
    [Description("The relevance score, from 0.0 to 1.0, where 1.0 means perfect match")] double? relevance = DefaultRelevance,
    [Description("The maximum number of relevant memories to recall")] int? limit = DefaultLimit,
    CancellationToken cancellationToken = default)
RecallAsync
方法有input、collection、relevance、limit、cancellationToken参数,它们的含义如下:
|
参数名
|
含义
|
| input |
用于查看向量数据库中是否有相关数据的文本 |
| collection |
向量数据库中的集合名 |
| relevance |
相关性,0最低,1最高 |
| limit |
相关数据的最大返回数量 |
| cancellationToken |
.NET中用于协调取消长时间运行的操作的结构 |
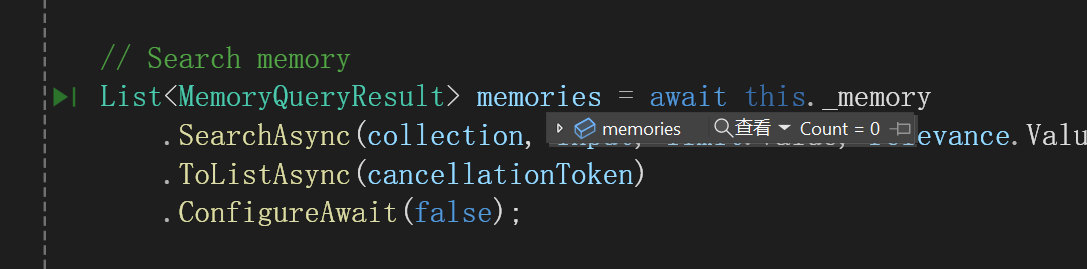
在向量数据库中查找相关数据:
 // Search memory
 List<MemoryQueryResult> memories = await this._memory
     .SearchAsync(collection, input, limit.Value, relevance.Value, cancellationToken: cancellationToken)
     .ToListAsync(cancellationToken)
     .ConfigureAwait(false);
向kernel导入插件:
// TextMemoryPlugin provides the "recall" function
kernel.ImportPluginFromObject(new TextMemoryPlugin(memory));
开始测试
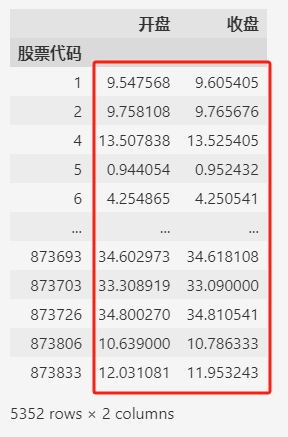
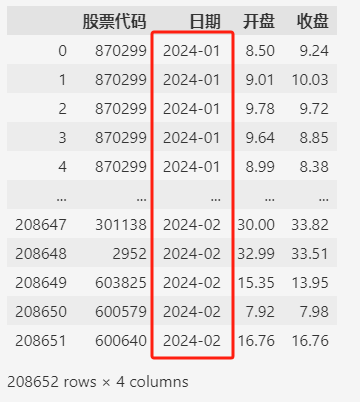
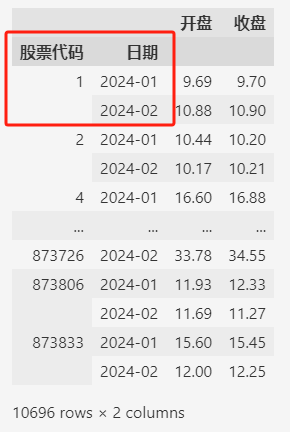
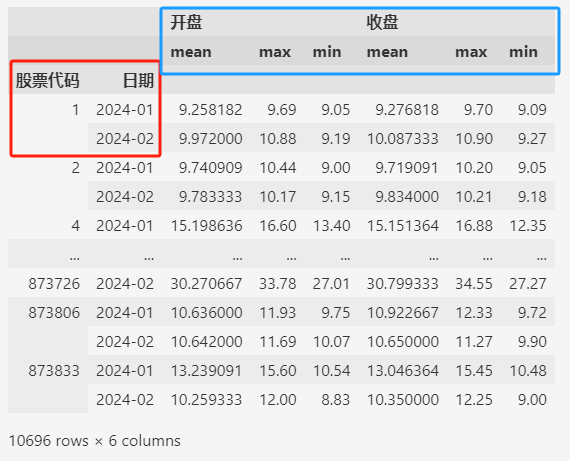
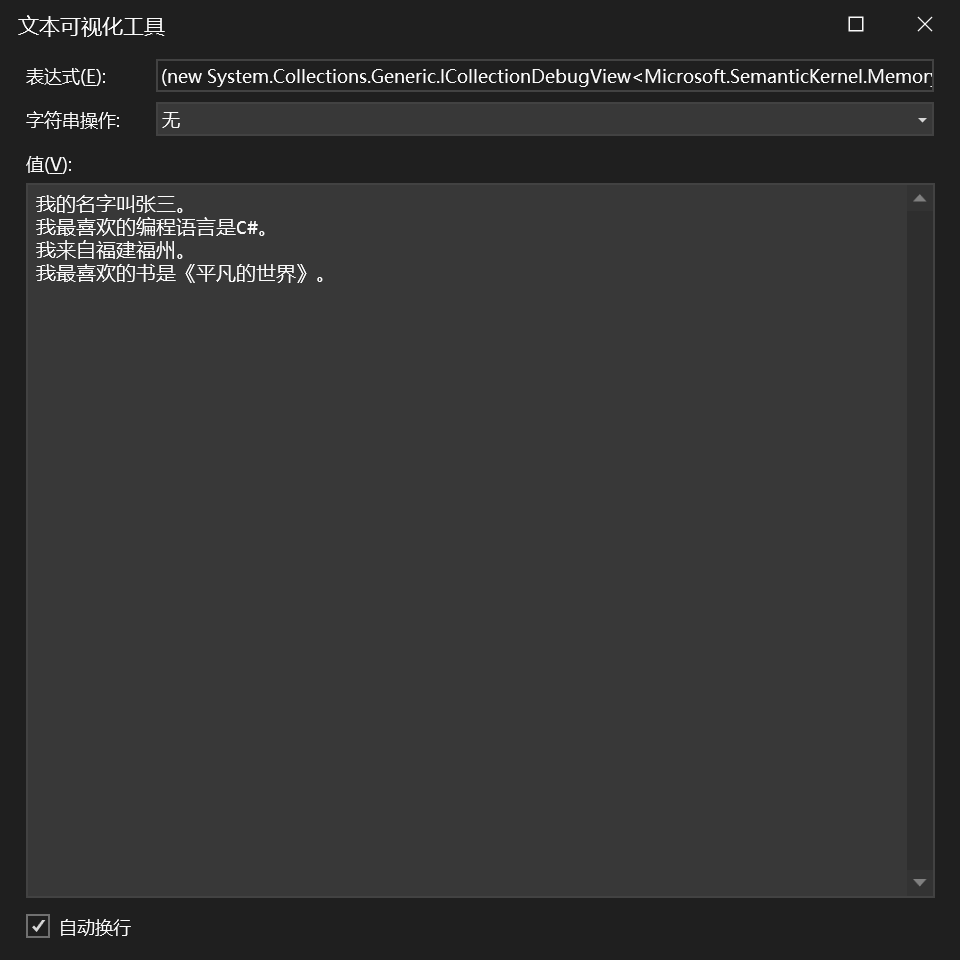
用于测试的本地数据:
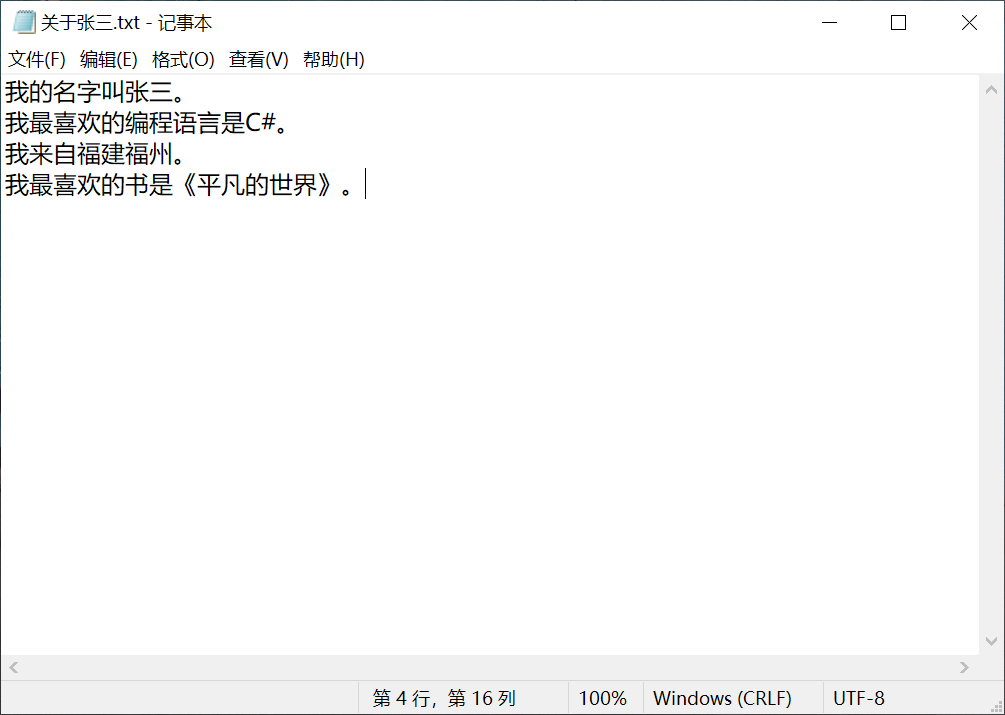
这些数据大语言模型肯定不会知道的。
导入文件之后,开始测试:
const string skPrompt = @"
ChatBot can have a conversation with you about any topic.
It can give explicit instructions or say 'I don't know' if it does not have an answer.
Information about me, from previous conversations:
- {{$fact1}} {{recall $fact1}}
- {{$fact2}} {{recall $fact2}}
Chat:
{{$history}}
User: {{$userInput}}
ChatBot: ";
var chatFunction = kernel.CreateFunctionFromPrompt(skPrompt, new OpenAIPromptExecutionSettings { MaxTokens = 200, Temperature = 0.8 });
#pragma warning disable SKEXP0052
var arguments = new KernelArguments();
arguments["fact1"] = "我的名字是什么?";
arguments["fact2"] = "我喜欢什么编程语言?";
arguments[TextMemoryPlugin.CollectionParam] = "hello2";
arguments[TextMemoryPlugin.LimitParam] = "2";
arguments[TextMemoryPlugin.RelevanceParam] = "0.8";
arguments["userInput"] = "我的名字叫什么?";
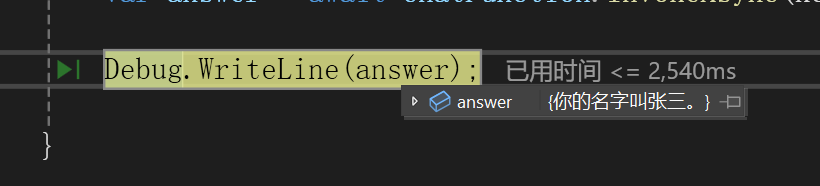
// Process the user message and get an answer
var answer = await chatFunction.InvokeAsync(kernel, arguments);
Debug.WriteLine(answer);
在查找“我的名字是什么?”时,并没有查找到相关内容:
在查看“我喜欢什么编程语言?”时,找到了相关内容:
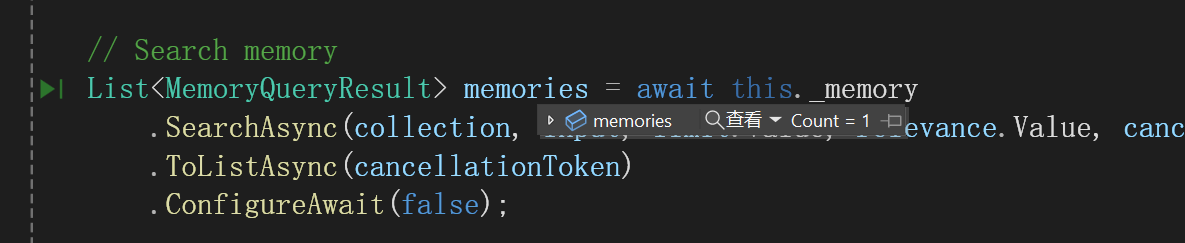
查看查找到的相关内容:
大语言模型可以根据获取到的数据进行回答:
MemoryChat
经过测试,我们发现是可行的,就可以写成问答的形式:
            loadingMemory2.Visibility = Visibility.Visible;

            string question = textBoxMemory1.Text;

            // Get user input
            history.AddUserMessage(question);

            const string skPrompt = @"
ChatBot can have a conversation with you about any topic.
It can give explicit instructions or say 'I don't know' if it does not have an answer.

Information about me, from previous conversations:
- {{$fact1}} {{recall $fact1}}

Chat:
{{$history}}
User: {{$userInput}}
ChatBot: ";

            var chatFunction = kernel.CreateFunctionFromPrompt(skPrompt, new OpenAIPromptExecutionSettings { MaxTokens = 200, Temperature = 0.8 });

#pragma warning disable SKEXP0052

            var arguments = new KernelArguments();

            arguments["fact1"] = question;


            arguments[TextMemoryPlugin.CollectionParam] = "hello2";
            arguments[TextMemoryPlugin.LimitParam] = "2";
            arguments[TextMemoryPlugin.RelevanceParam] = "0.6";

            arguments["userInput"] = question;

            // Process the user message and get an answer
            var answer = await chatFunction.InvokeAsync(kernel, arguments);

            Debug.WriteLine(answer);


            // Print the results
            richTextBoxMemory.AppendText(answer + "\r\n");

            // Add the message from the agent to the chat history
            history.AddMessage(Microsoft.SemanticKernel.ChatCompletion.AuthorRole.System, answer.ToString());

            loadingMemory2.Visibility = Visibility.Hidden;
使用gpt-3.5-turbo的效果
使用gemini-pro的效果
只对了一个最喜欢的编程语言问题。
使用讯飞星火认知大模型的效果
一个都没答对。
参考
1、
Understanding AI plugins in Semantic Kernel and beyond | Microsoft Learn
2、
Memories in Semantic Kernel | Microsoft Learn
3、
LLM AI Embeddings | Microsoft Learn
4、
Vector Database | Microsoft Learn
5、
semantic-kernel/dotnet/notebooks/09-memory-with-chroma.ipynb at main · microsoft/semantic-kernel (github.com)