构建一个优秀的Prompt
在使用Stable Diffusion AI时,构建一个有效的提示(Prompt)是至关重要的第一步。这个过程涉及到创造性的尝试和对AI行为的理解。这里我会对如何构建一个好的Prompt进行一个总结。
什么是一个好的提示词
构建有效的提示是使用Stable Diffusion AI或其他AI图像生成工具的关键。一个好的提示能够精确地指导AI生成你心中所想的图像。为了帮助你创建这样的提示,我们可以探讨不同的关键词类别,并看看如何将它们组合起来生成图像。以下是一些主要的关键词类别,以及如何使用它们来构建你的提示:
这是你的图像的核心内容。它可能是一个物体、一个人、一个地方或一个事件。例如:“孤独的灯塔”、“繁忙的市场”或“宁静的森林”。
这里指的是图像的物理或视觉表现形式。例如:“油画”、“水彩画”、“数字绘画”或“铅笔素描”。
这是指图像的整体视觉风格或艺术流派。你可以指定一个特定的艺术家、艺术时期或流行的视觉风格。例如:“印象派”、“赛博朋克”、“超现实主义”或“宫崎骏动画风格”。
- 艺术分享网站 (Art Sharing Platforms)
有时候,你可能在艺术分享网站上看到了一些你喜欢的图像,你可以在提示中提及这些网站来获取类似的风格。例如:“Behance上的数字艺术”、“DeviantArt的幻想插画”或“Pinterest上的极简主义设计”。
指定你想要的图像尺寸。虽然Stable Diffusion的标准输出是512×512像素,但你可以根据需要调整。例如:“4K分辨率”、“高清壁纸”或“社交媒体缩略图”。
- 附加细节 (Additional Details)
这些是你希望在图像中包含的特定元素或特征。例如:“穿着中世纪盔甲的骑士”、“有瀑布的热带雨林”或“未来城市的夜景”。
指定图像的主要颜色或颜色方案。例如:“暖色调”、“冷色调”、“鲜艳的色彩”或“柔和的粉色”。
描述你想要的光照效果。例如:“柔和的日落光线”、“戏剧性的阴影”、“明亮的阳光”或“神秘的月光”。
在构建提示时,你可以根据需要选择使用这些类别中的一个或多个。下面是一个使用这些类别构建的示例提示:
A cyberpunk-style digital artwork, displaying neon lights and flying cars in the night scene of a future city. The image adopts 4K resolution, with bright colors and strong blue and purple tones under the light
使用这个提示,你可以在Dreamshaper模型或其他适合初学者的模型中生成图像。记得,生成图像的过程是一个迭代的过程,不断尝试和调整将帮助你获得最佳结果。在后续的实践中,你还可以探索如何使用负面提示来排除你不希望出现在图像中的元素。
主题
主题
是您希望在图像中
看到
的内容。一个常见的错误是关于主题的描述不够。比如说,我们想生成一个施展魔法的女巫。一个新手可能只写了一个女巫的描述。
A witch
你会得到一些还不错的图像,但这个提示留下了太多想象的空间。
你希望女巫的样子是怎样的?你有没有一些
关键词
来更具体地描述她?她穿着什么?她施展的是什么样的魔法?她是站着、跑步还是漂浮在空中?背景是什么样的?
Stable Diffusion 无法读取我们的想法。我们必须明确地表达我们想要的。
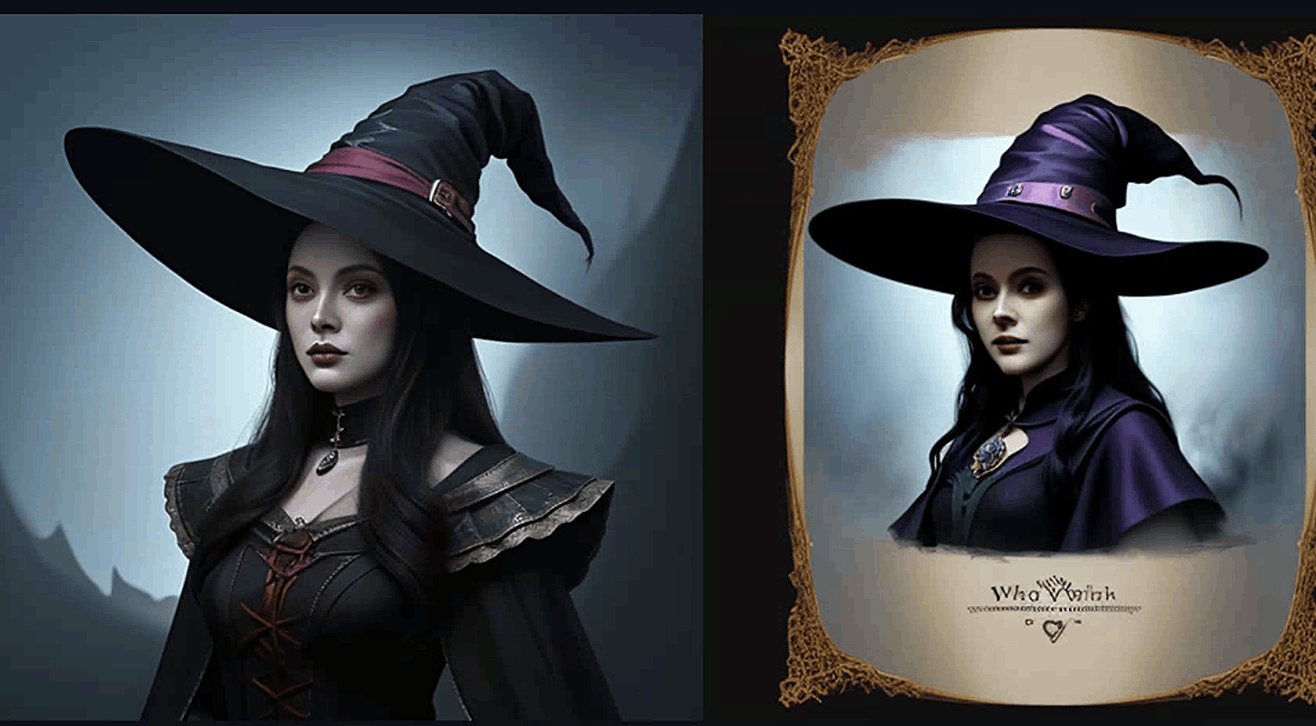
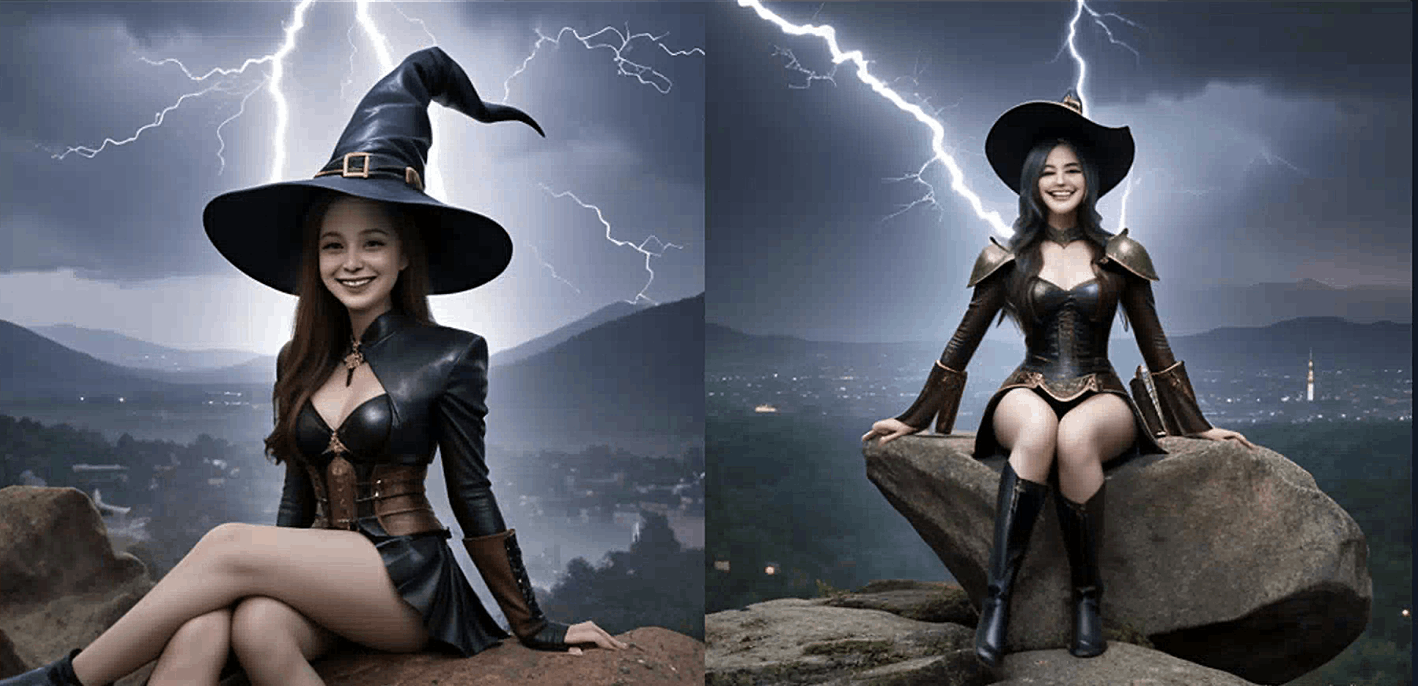
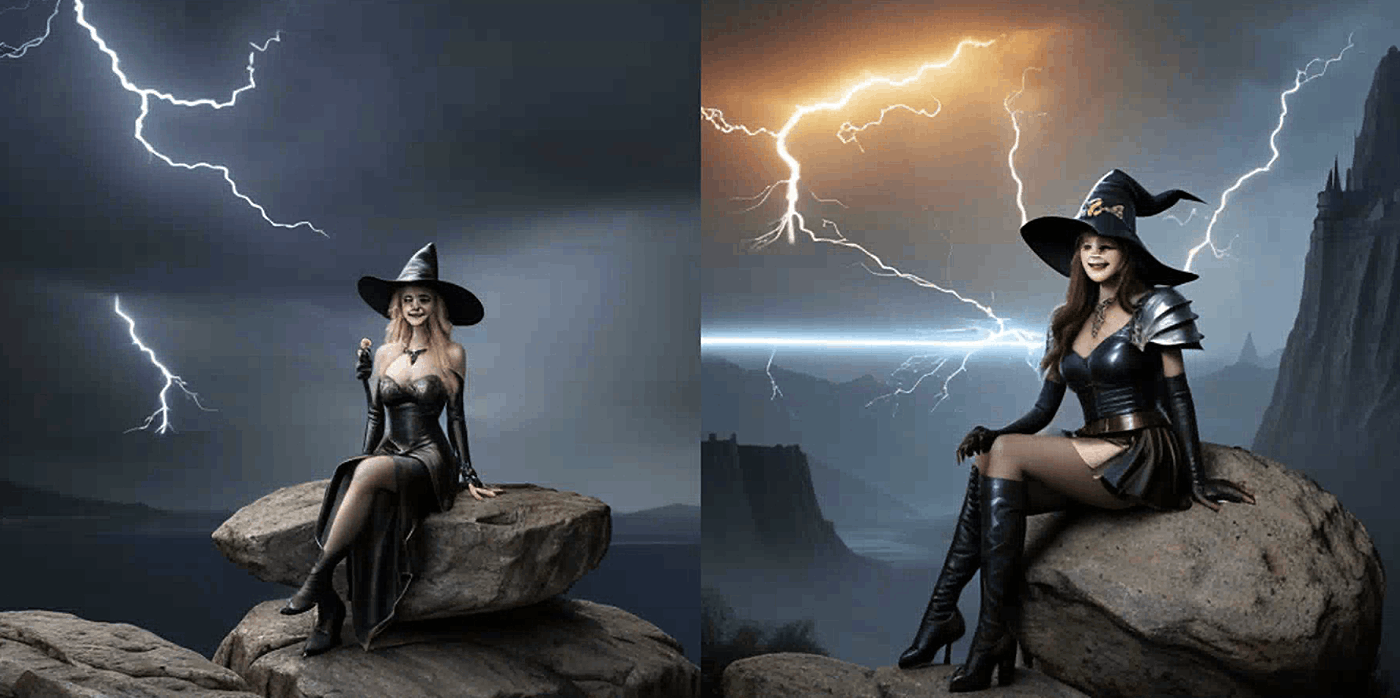
作为演示,比如说她是一个强大而神秘的女巫,使用闪电魔法。她穿着镶有宝石的皮革服装。她坐在一个岩石上。她戴着帽子。背景是一座城堡。
A beautiful and powerful mysterious witch, smiling, sitting on a rock, lightning magic, hat, detailed leather costume complete with gems, skirt, castle background
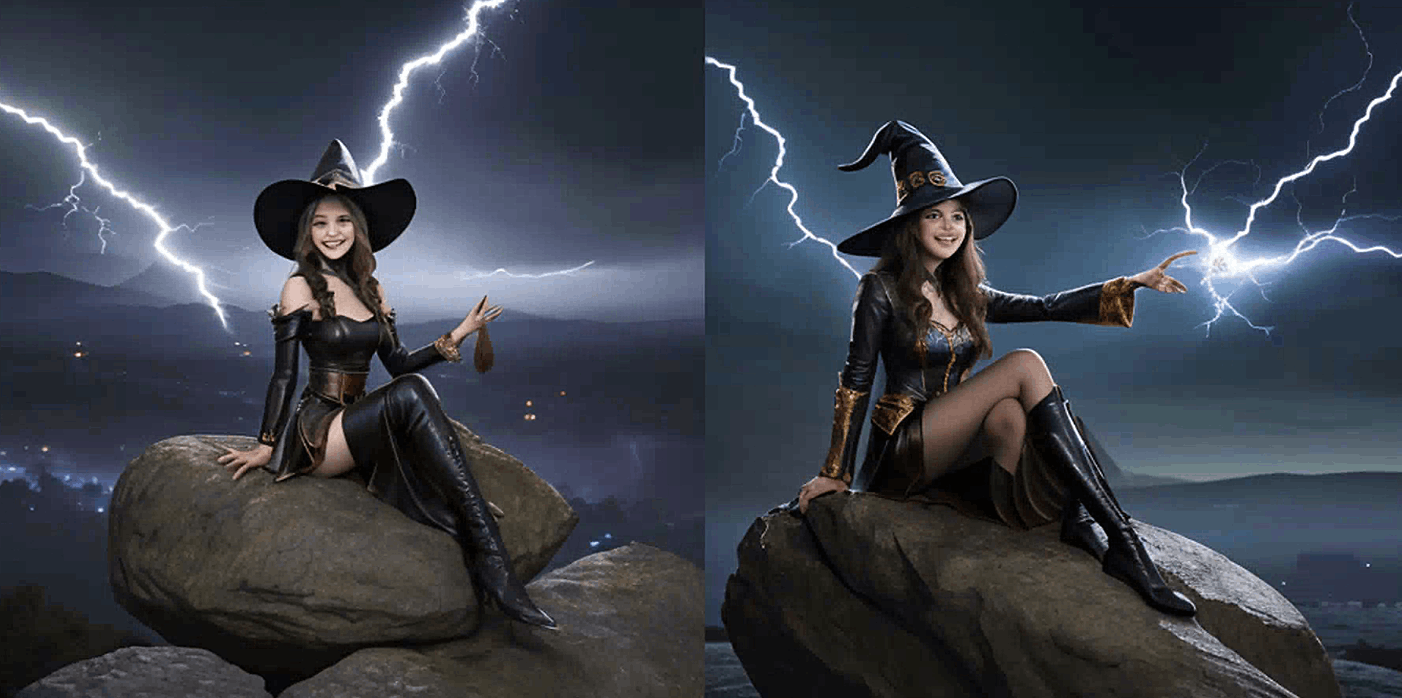
现在,我们生成更
具体
的图像。服装、姿势和背景在图像间保持一致。
Medium
Medium是制作艺术作品所使用的材料。一些例子包括插画、油画、3D渲染和摄影。Medium具有强大的影响力,因为一个关键词就能极大地改变风格。
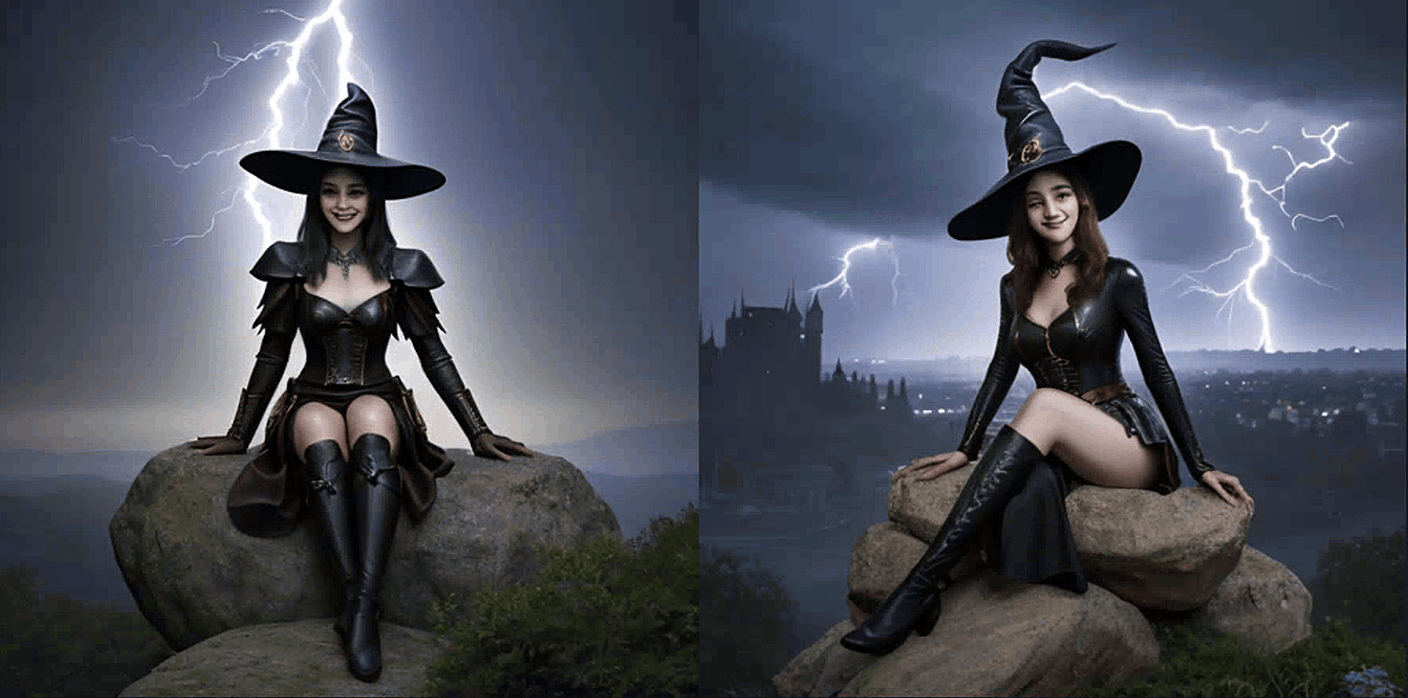
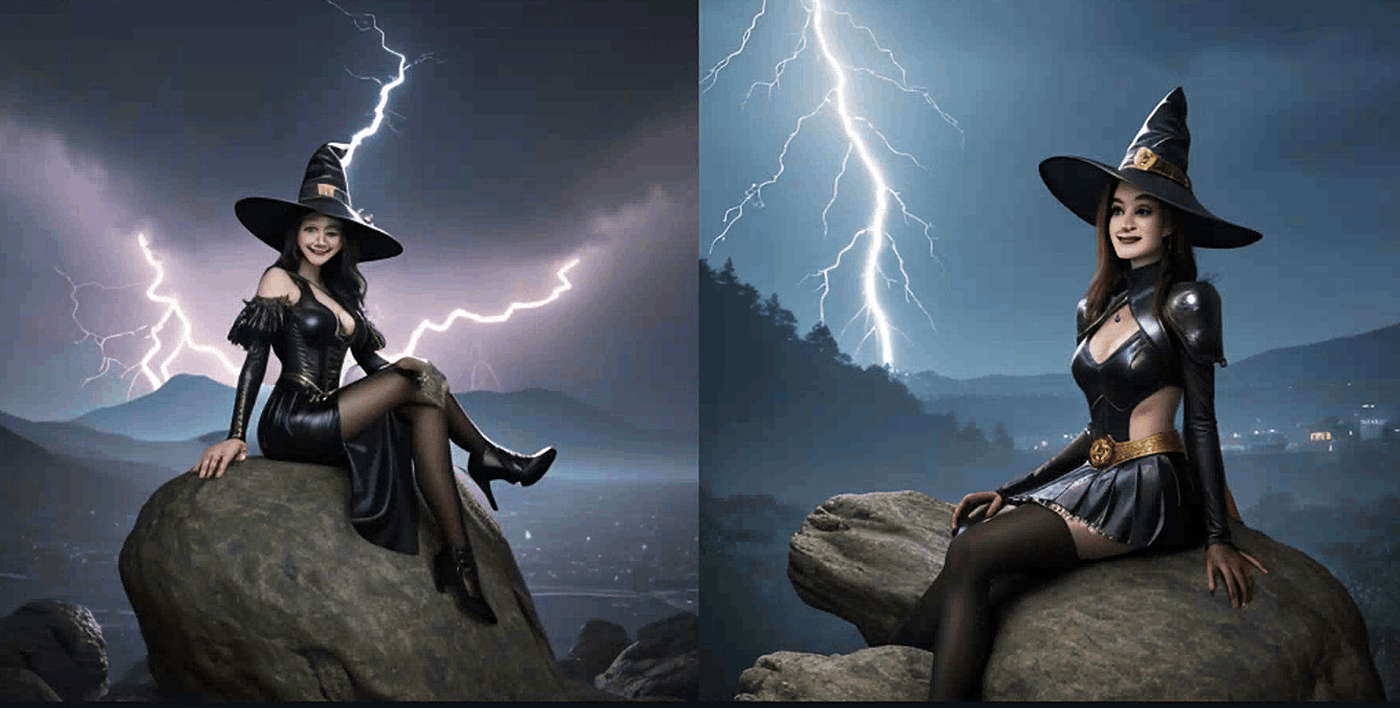
让我们加入关键词
数字艺术
。
A beautiful and powerful mysterious witch, smiling, sitting on a rock, lightning magic, hat, detailed leather costume complete with gems, skirt, castle background, Digital Art
这些图像从逼真的绘画风格转变为更像是计算机图形。那么还能不能做更多的修改呢?
风格
风格
指的是图像的艺术风格。例如印象派、超现实主义、波普艺术等。
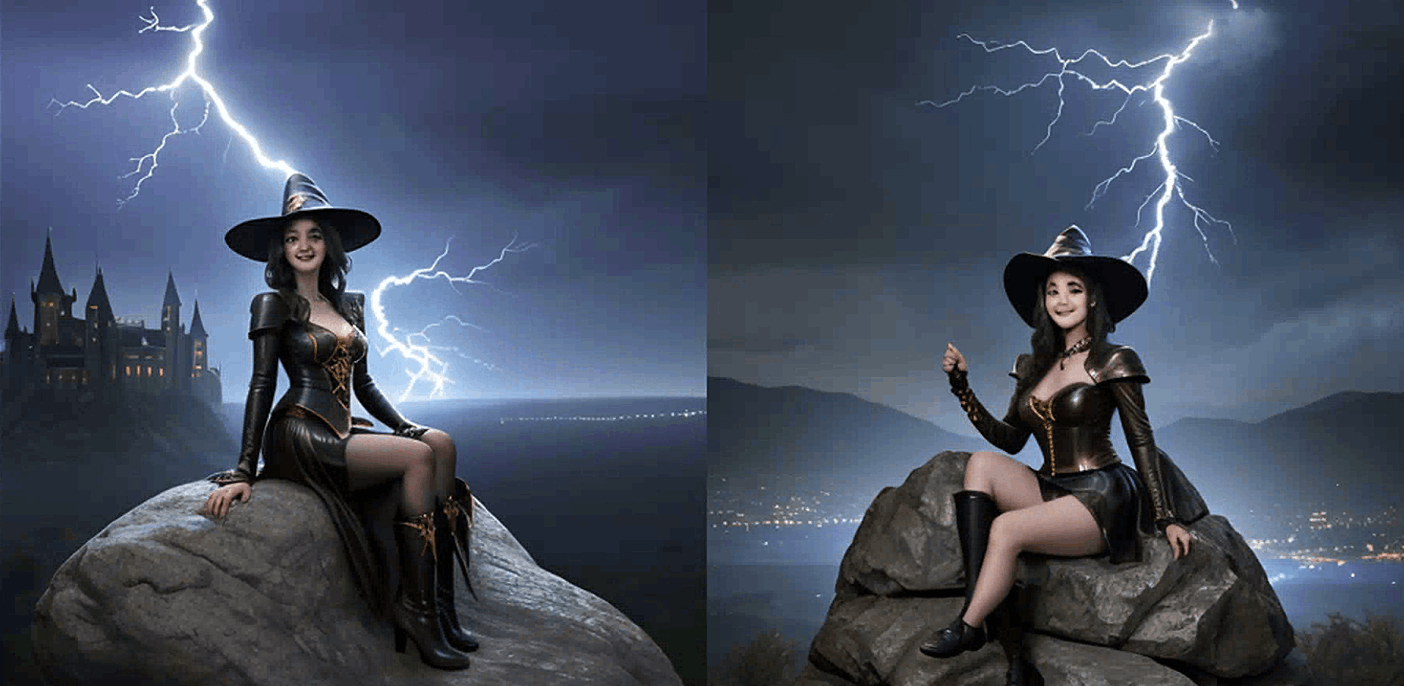
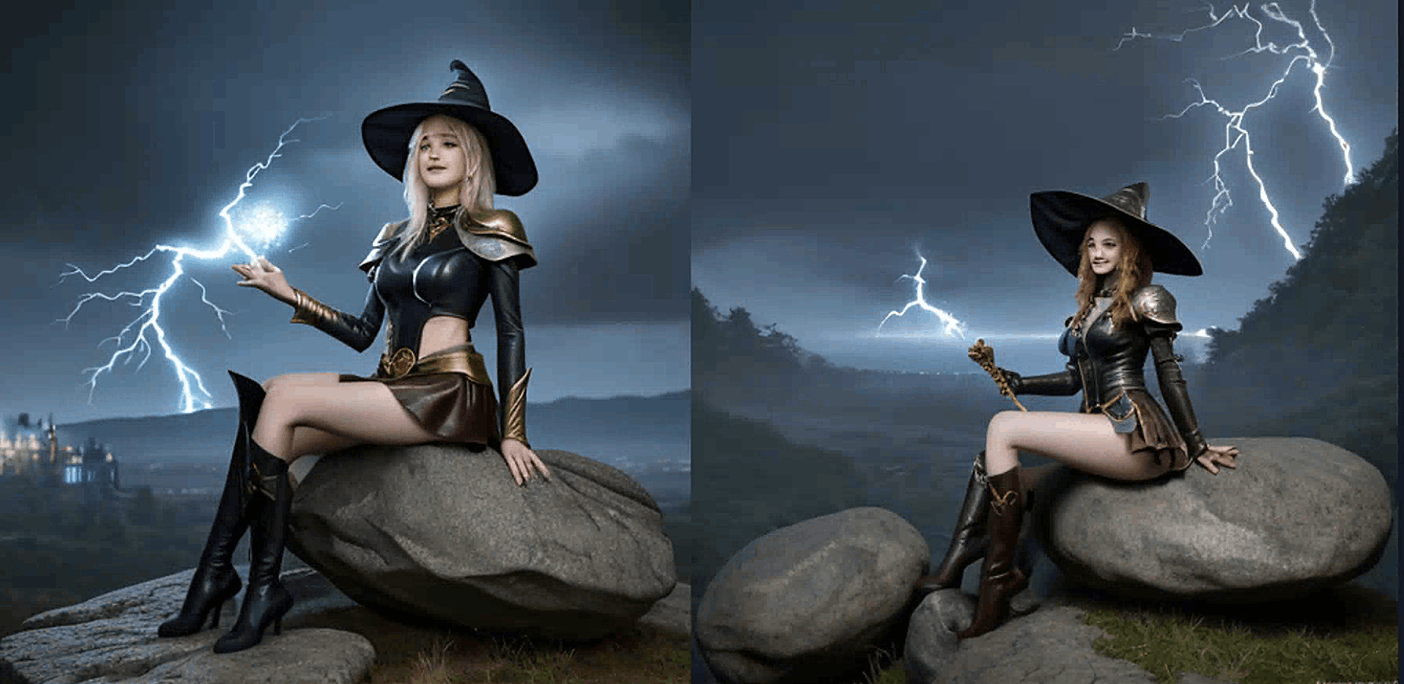
在提示中添加
超写实、幻想、黑暗艺术
。
A beautiful and powerful mysterious witch, smiling, sitting on a rock, lightning magic, hat, detailed leather costume complete with gems, skirt, castle background, Digital Art,Hyperrealistic, fantasy, dark art
现在,场景变得更加阴暗和忧郁。
艺术分享网站
像Artstation和Deviant Art这样的细分图形网站汇聚了许多不同风格的图片。在提示中使用它们是将图片引向这些风格的一种方式。
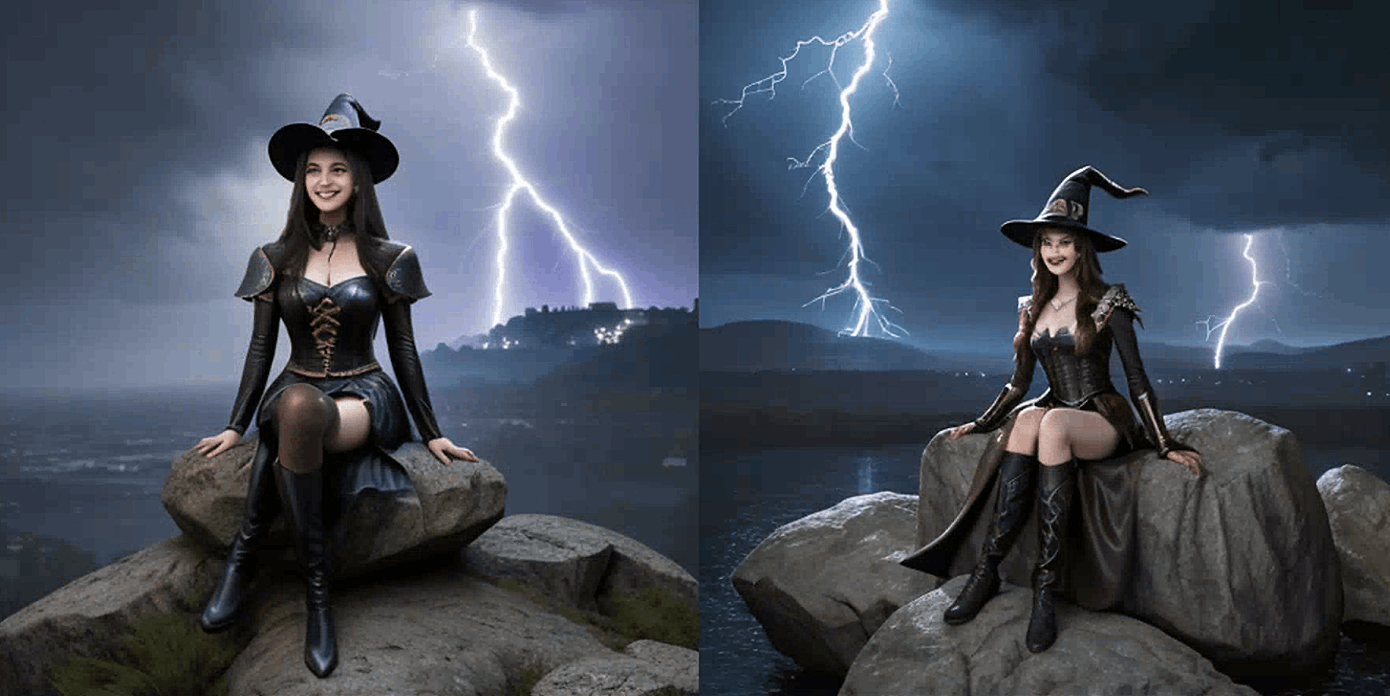
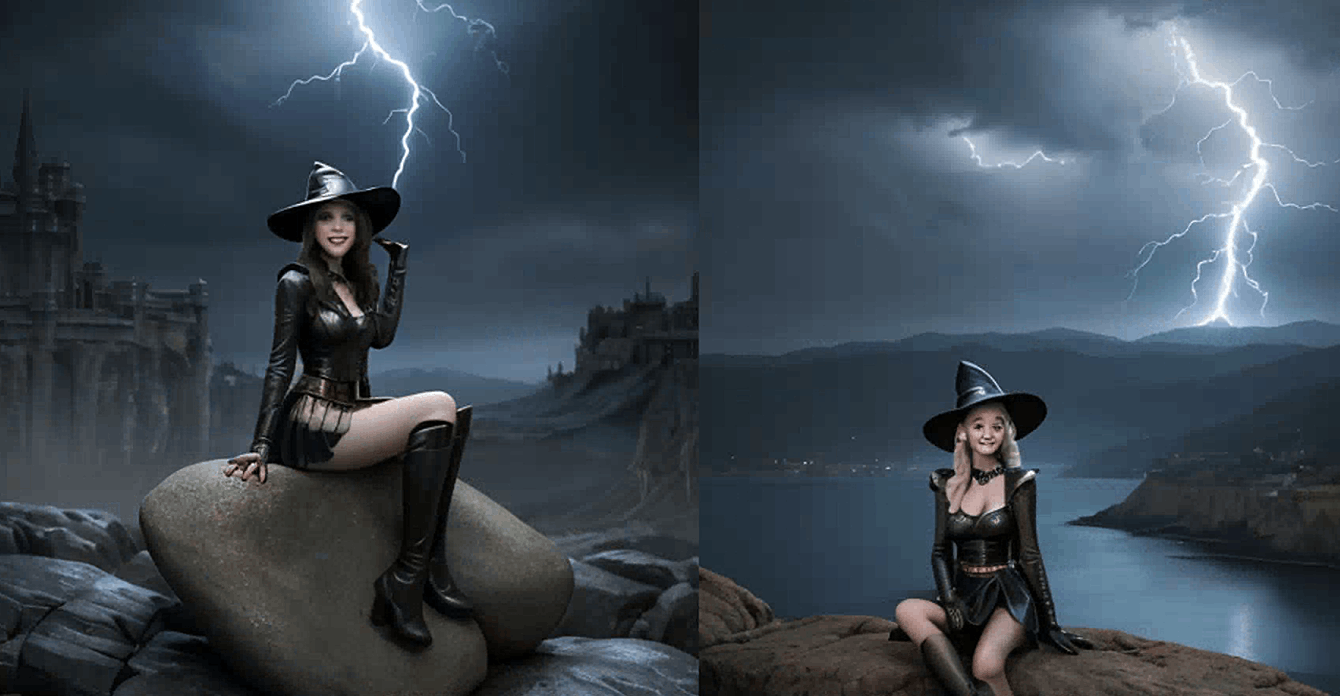
让我们在提示中加入
artstation
。
A beautiful and powerful mysterious witch, smiling, sitting on a rock, lightning magic, hat, detailed leather costume complete with gems, skirt, castle background, Digital Art,Hyperrealistic, fantasy, dark art
artstation
这个变化并不大,但这些图片看起来确实像你在Artstation上找到的内容。
分辨率
分辨率代表着图像的清晰度和细节程度。让我们添加关键词
高度详细
和
清晰焦点
。
A beautiful and powerful mysterious witch, smiling, sitting on a rock, lightning magic, hat, detailed leather costume complete with gems, skirt, castle background, Digital Art,Hyperrealistic, fantasy, dark art
artstation,Highly detailed,clear focus
嗯,效果并不是很明显,也许是因为之前的图像已经相当清晰和详细了。但添加一些也无妨。
附加细节
附加细节是用来修改图像的“甜味剂”。我们将添加
科幻
和
反乌托邦
来为图像增添一些氛围。
A beautiful and powerful mysterious witch, smiling, sitting on a rock, lightning magic, hat, detailed leather costume complete with gems, skirt, castle background, Digital Art,Hyperrealistic, fantasy, dark art
artstation,Highly detailed,clear focus,Science fiction, dystopia
颜色
通过添加
颜色
关键词
,您可以控制图像的整体颜色。您指定的颜色可能会以色调或对象的形式出现。
让我们用关键词
闪光金
向图像添加一些金色。
A beautiful and powerful mysterious witch, smiling, sitting on a rock, lightning magic, hat, detailed leather costume complete with gems, skirt, castle background, Digital Art,Hyperrealistic, fantasy, dark art
artstation,Highly detailed,clear focus,Science fiction, dystopia,Glitter gold
金色在一些地方表现得非常出色!
灯光
任何摄影师都会告诉你,灯光对于创造成功的图像至关重要。灯光关键词对图像的外观有很大影响。让我们添加一些工作室灯光,使其看起来像是工作室拍摄的照片。
A beautiful and powerful mysterious witch, smiling, sitting on a rock, lightning magic, hat, detailed leather costume complete with gems, skirt, castle background, Digital Art,Hyperrealistic, fantasy, dark art
artstation,Highly detailed,clear focus,Science fiction, dystopia,Glitter gold,Studio lighting
备注
您可能已经注意到,这些图片只需添加一些关键词就已经相当不错了。在构建提示时,并不总是越多越好。通常情况下,您并不需要太多关键词来获得好的图片。
使用负面提示
使用负面提示是另一种引导图像的好方法,但与其输入你想要的,不如输入你不想要的。它们不一定是物体,也可以是风格和不想要的属性(例如丑陋,畸形)。
对于v2模型来说,使用负面提示是必不可少的。没有它,图像看起来会远远逊色于v1的。对于v1和SDXL模型来说,它们是可选的,但是最好添加上去,因为万一有效果呢?
我将使用一个简单的通用负面提示,它不会修改风格。
Misshapen, misshapen, ugly
在计算机科学领域,一个好的提示是提高用户体验的关键。下面是构建一个良好提示的一般步骤:
明确提示的目的
:首先要明确提示的目的是什么,它是为了引导用户完成某个操作,还是为了提供必要的信息。只有明确了目的,才能更好地构建提示内容。
选择合适的时机
:提示的时机非常重要,过早或过晚的提示都会影响用户的体验。要根据用户操作的上下文,选择合适的时机进行提示。
简洁明了的内容
:提示内容要简洁明了,避免使用过于晦涩的专业术语,让用户能够快速理解并作出相应的反应。
考虑用户反馈
:在构建提示时,需要考虑用户的反馈,尤其是之前类似提示的反馈。通过用户反馈,及时对提示进行修改和优化。
测试和优化
:构建完提示后,需要进行测试,观察用户对提示的反应,并根据反馈进行相应的优化和修改。
通过以上步骤,我们可以构建出一个良好的prompt,提高用户体验,促进用户完成操作。
迭代式prompt构建
构建有效的提示确实是一个迭代的过程,需要通过不断的试验和调整来完善。以下是一些策略和建议,可以帮助你在构建Stable Diffusion AI的提示时更加高效和有目的性:
1. 从简单开始
开始时,创建一个包含主题、媒介和风格的简单提示。这将为AI提供一个基本的框架来生成图像。例如:“中世纪城堡的水彩画”。
2. 批量生成和评估
每次生成至少4张图像,这样可以更好地评估提示的效果。由于AI生成的图像可能存在差异,生成多张图像可以让你有一个统计上的理解,哪些元素在提示中是有效的。
3. 逐步添加关键词
在每次迭代中,尝试添加一两个新的关键词到提示中。再次生成至少4张图像来评估新关键词的影响。这种方法可以帮助你理解每个关键词如何影响最终的图像。
4. 使用负面提示
负面提示是指导AI避免生成某些元素的强大工具。如果你发现某个模型在渲染特定对象或身体部位时存在问题,比如手部,可以在负面提示中加入这些关键词,如“无手”或“不显示手”。
5. 迭代过程中的关键词细化
随着你对模型的了解越来越深入,你可以开始将更具体的关键词添加到负面提示中。这可以帮助你更精细地控制生成的图像,避免不想要的特征或细节。
6. 记录和回顾
在整个迭代过程中,记录你的提示和生成的图像结果。这不仅有助于你追踪哪些关键词有效,哪些无效,还可以帮助你在未来的项目中更快地构建有效的提示。
通过遵循这些策略,你可以逐步完善你的提示,最终生成满足你要求的高质量图像。记住,每个AI模型都有其独特的特点和限制,因此投入时间来了解和适应你正在使用的特定模型是非常重要的。不断实践,你将能够更加熟练地使用Stable Diffusion AI来创造出令人印象深刻的视觉作品。
prompt技巧
在特定的采样步骤中,您可以通过切换到不同的关键词来修改关键词的重要性。
以下语法适用于AUTOMATIC6666661 GUI。
关键词权重
(
此语法适用于AUTOMATIC6666661 GUI。
)
您可以通过语法
(关键词: 因子)
来调整关键词的
权重
。
因子
是一个数值,小于1表示不太重要,大于1表示更重要。
例如,我们可以调整以下提示中关键词
dog
的权重:
(Dog:1),mist,smoke,fire,chimney,rain,damp,primitive,puddle,melting,dripping water,snow,stream,lush,ice,bridge,forest,rose,flower,Stanley Artgerm Lau,Greg Rutkowski,Thomas Kincade,Alphonse Mucha,Loish,Norman Rockwell.,
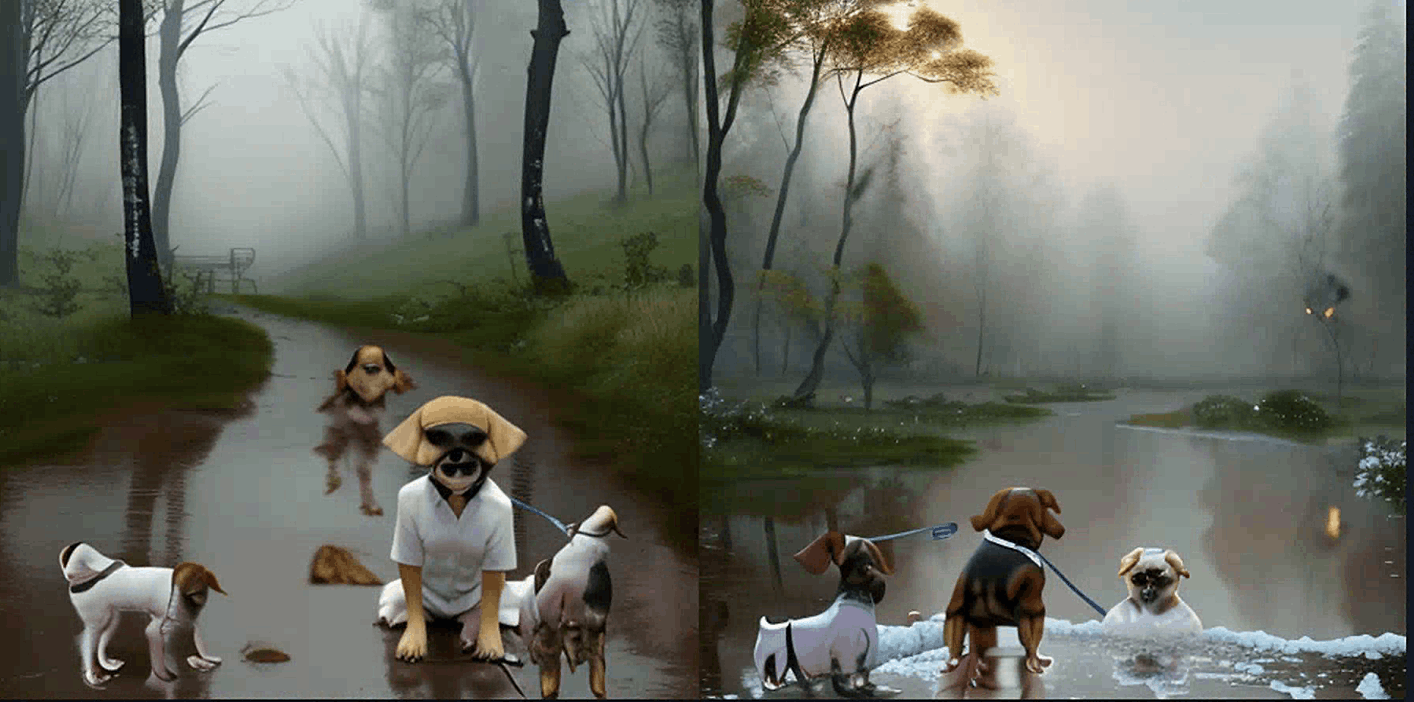
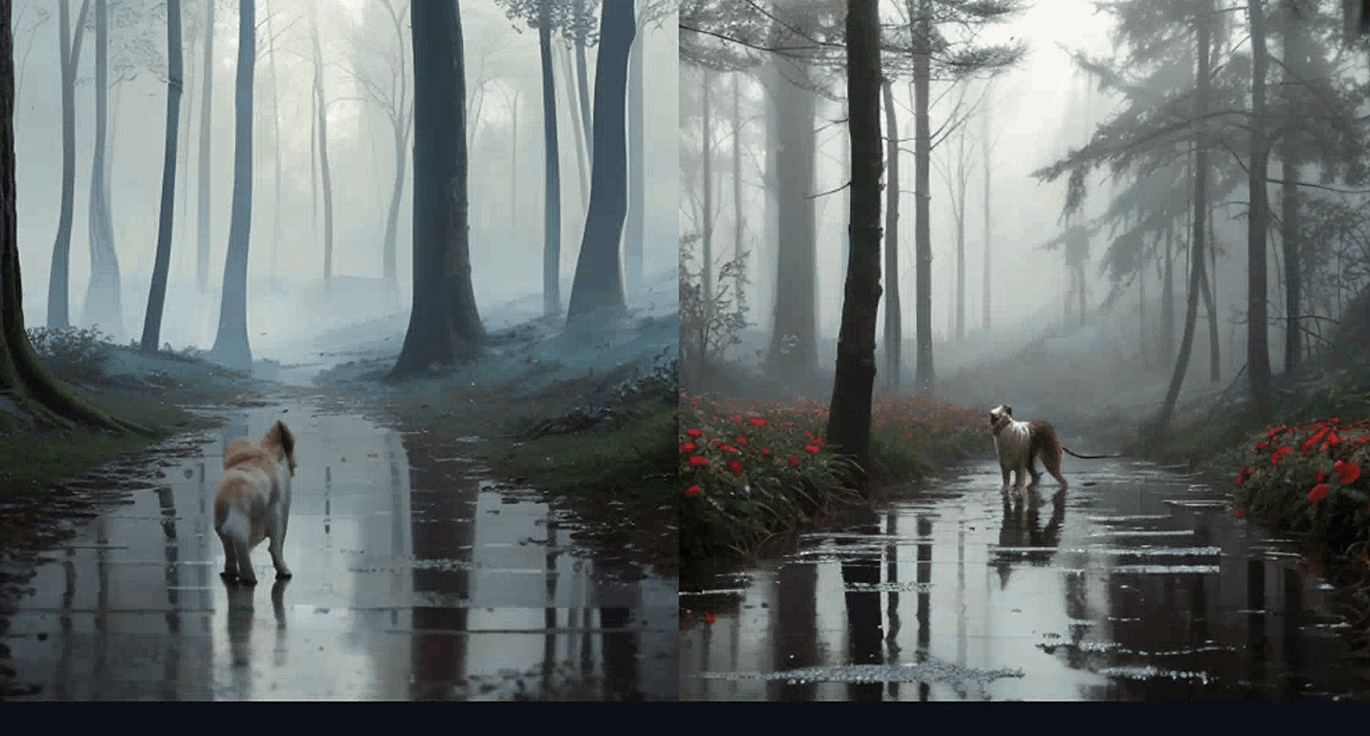
增加
dog
的权重倾向于生成更多的狗。减少它倾向于生成更少。对于每张图片来说并不总是正确的,但从统计意义上来说是正确的。
这种技术可以应用于主题关键词和所有类别,比如风格和光线。
()和[]语法
(
此语法适用于 AUTOMATIC6666661 GUI。
)
调整关键字强度的等效方法是使用
()
和
[]
。
(关键字)
将关键字的强度增加1.1倍,与
(关键字:1.1)
相同。
[关键字]
将关键字的强度减少0.9倍,与
(关键字:0.9)
相同。
你可以像在代数中一样使用多个(),效果是乘法:
- (关键字)
等同于
(关键字: 1.1)
- ((关键字))
等同于
(关键字: 1.21)
- (((关键字)))
等同于
(关键字: 1.33)
同样,使用多个
[]
的效果是:
- [关键字]
等同于
(关键字: 0.9)
- [[关键字]]
等同于
(关键字: 0.81)
- [[[关键字]]]
等同于
(关键字: 0.73)
AUTOMATIC6666661 提示:您可以使用 Ctrl + 上/下箭头(Windows)或 Cmd + 上/下箭头来增加/减少关键字的权重。
关键词混合
(
此语法适用于 AUTOMATIC6666661 GUI。
)
您可以混合两个关键词。正确术语是
提示调度
。语法是
[keyword1 : keyword2: factor]
factor
用来控制关键词1何时切换到关键词2。它是一个介于0和1之间的数字。例如,如果我使用提示
Oil painting portrait of [Joe biden: donald trump: 0.5]
进行30个采样步骤。
这意味着步骤1到15的提示是
Oil painting portrait of Joe biden
而步骤16到30的提示变为
Oil painting portrait of donald trump
因子确定了关键词何时改变。
改变因子的效果是以不同程度混合两位总统。
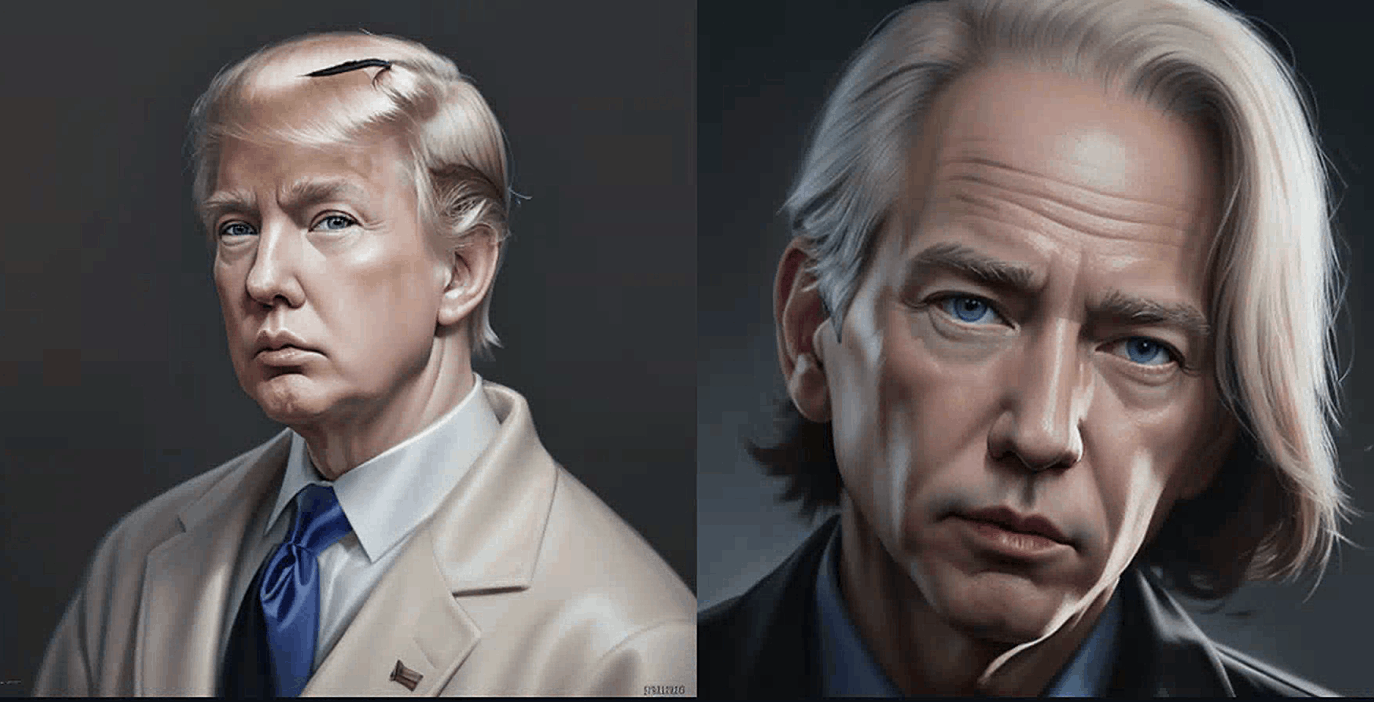
第一个关键词决定了全局构图。早期扩散步骤确定了整体构图。后续步骤完善细节。
混合面孔
一个常见的用例是创建一个具有特定外表的新面孔,借鉴演员和女演员的特点。例如,[Emma Watson: Amber heard: 0.85]:
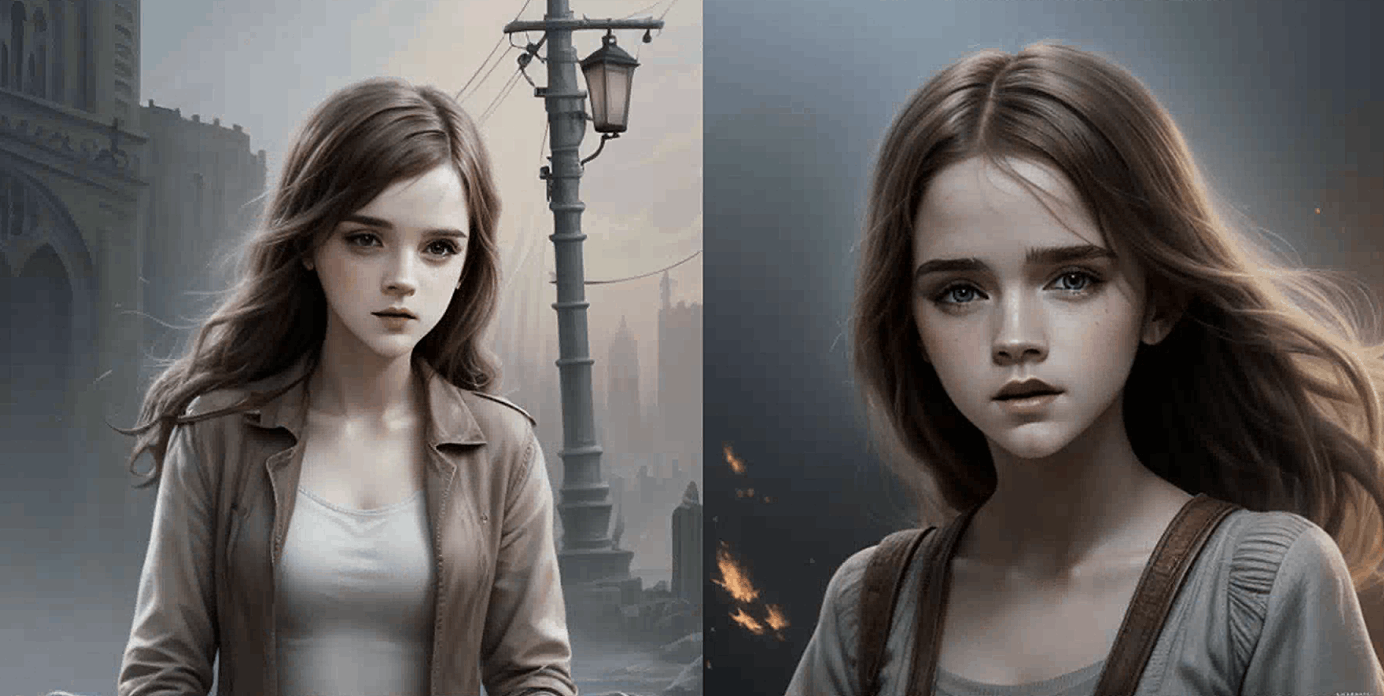
当仔细选择两个名字并调整因子时,我们可以精确地得到想要的外表。
另外,你可以使用
多个名人的名字
和关键词权重来调整面部特征。例如:
(Emma Watson:0.5), (Tara Reid:0.9), (Ana de Armas:1.2)
从提示到提示
通过关键词混合,你可以实现类似于提示到提示的效果,生成一对高度相似的图像并进行编辑。以下两幅图像是使用相同的提示生成的,除了一个地方不同,那就是使用了apple 和fire混合。种子和步数保持不变。
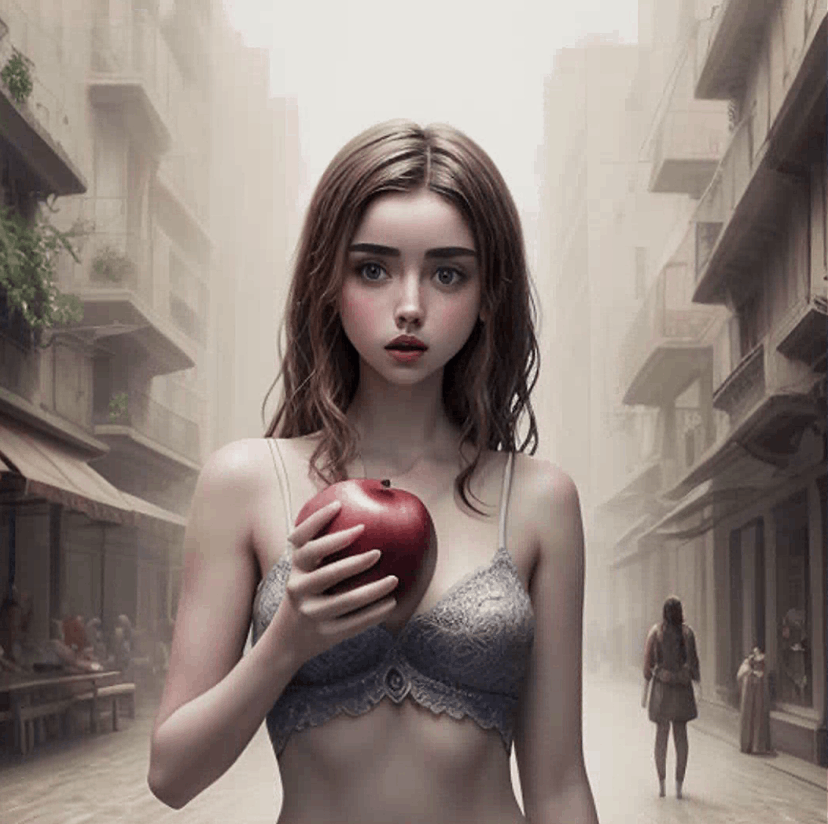
拿着一个[apple: fire: 0.3]
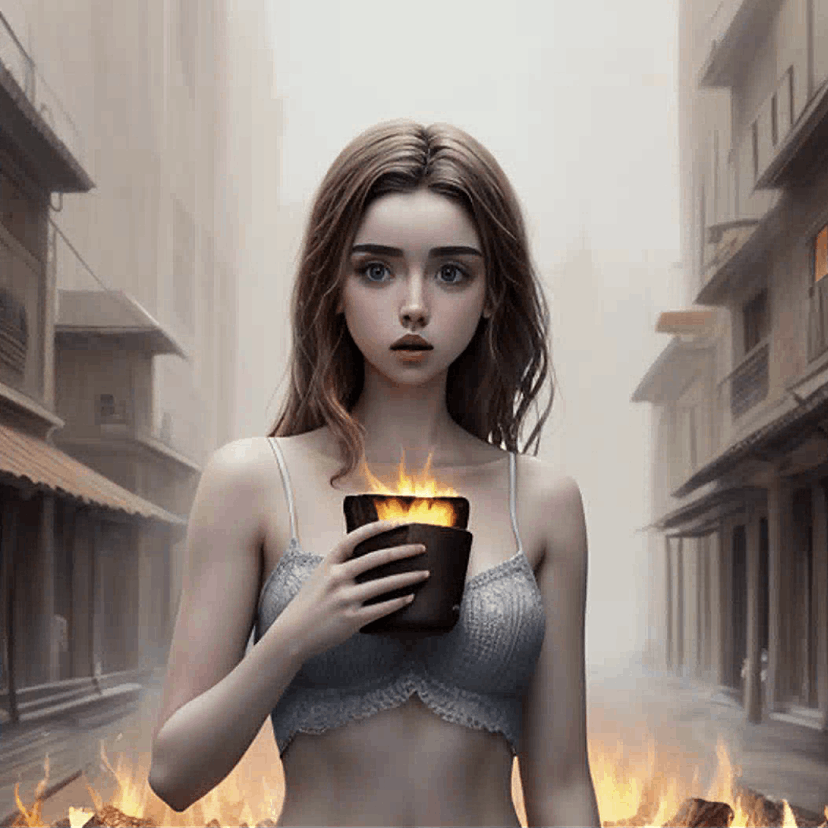
这背后的理论是图像的整体构图是由早期的扩散过程设定的。一旦扩散被困在一个小空间里,交换任何关键词对整体图像的影响不会很大。它只会改变一个小部分。
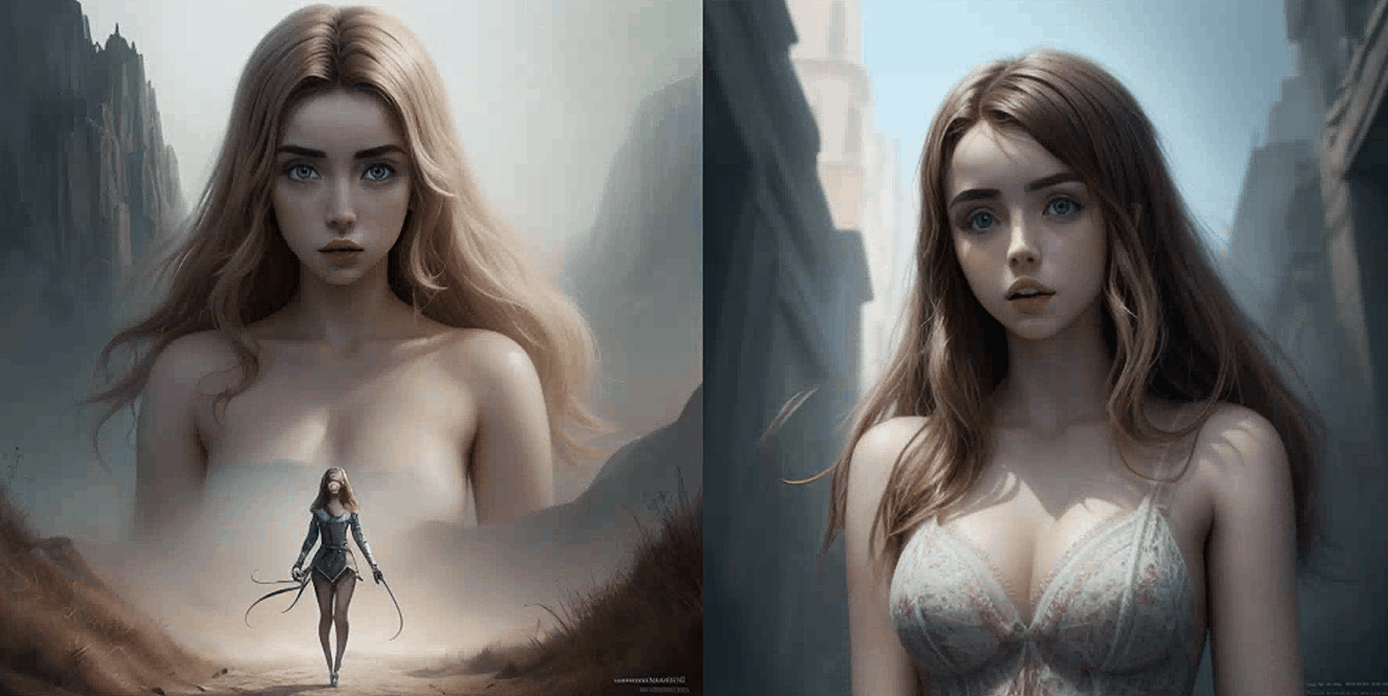
保持一致的面孔
使用多个名人的名字是混合两个或更多面孔的简单方法。混合在不同的图片上都是一致的。当你使用多个名字时,Stable diffusion会理解为生成一个人,但具有这些面部特征。
下面的短语使用多个名字来混合三个具有不同权重的面孔。
(Emma Watson:0.5), (Tara Reid:0.9), (Ana de Armas:1.2)
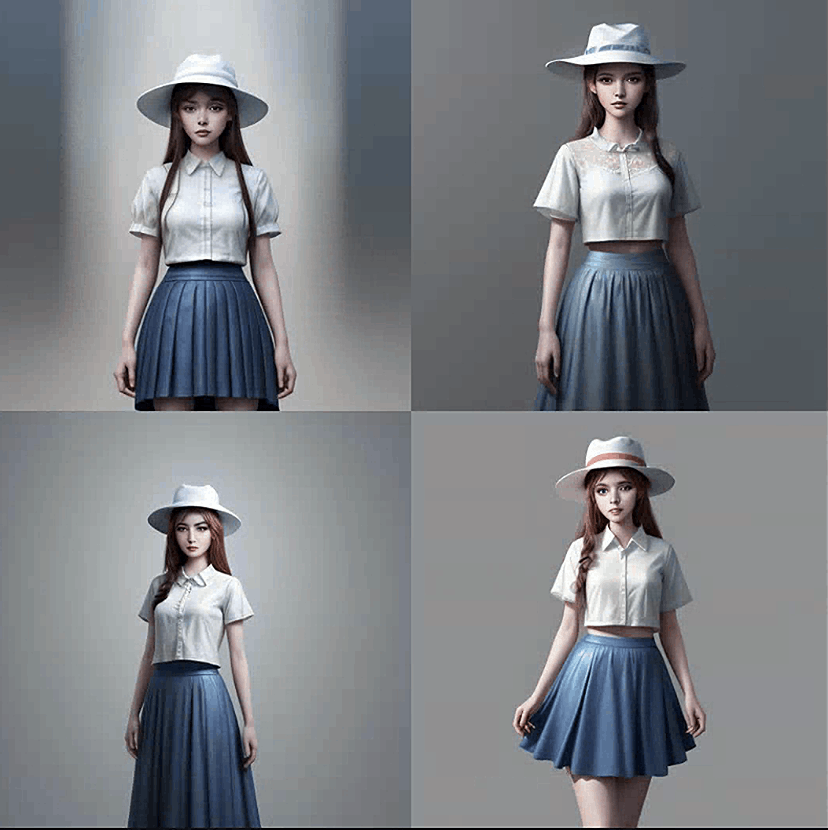
我们试下这种方式的效果,提示是:
(Emma Watson:0.5), (Tara Reid:0.9), (Ana de Armas:1.2),Photo of a young lady, prominent hair, sitting outside a restaurant, wearing a dress, edge lighting, studio lighting, looking into the lens, DSLR camera, Ultra High quality, Clear focus, depth of field, film grain, Fujifilm XT3, Crystal clear, 8K Ultra HD, Highly detailed shiny eyes, Highly detailed skin, skin pores
以下是具有相同提示的图片:
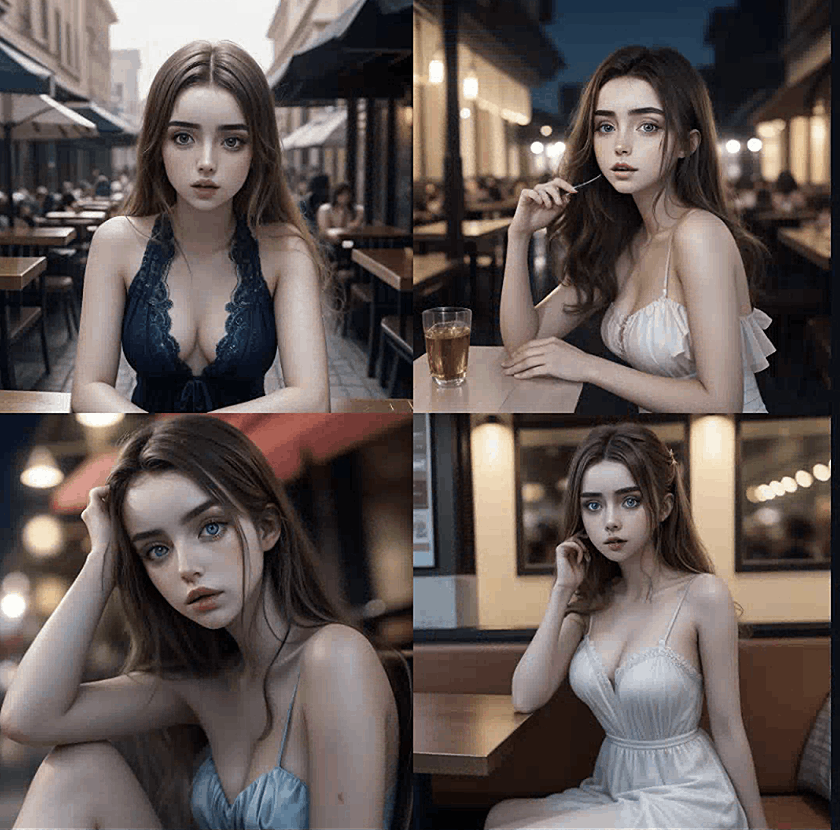
看到这张脸在不同的图片上重复出现了吧!
使用多个名人的名字和关键词权重来精心调整你想要的面部特征。你还可以在负面提示中使用名人的名字来避免你不想要的面部特征。
提示可以有多长?
根据您使用的Stable Diffusion服务不同,提示中可以使用的关键词数量可能会有限制。在基本的Stable Diffusion v1模型中,这个限制是75个token。
请注意,token与单词不同。
例如,
dream
是一个token,
beach
是另一个token。但dreambeach是两个token,因为这个模型不认识这个单词,所以模型会将这个单词分解成
dream
和
beach
,它认识这两个单词。
AUTOMATIC6666661中的提示限制
AUTOMATIC6666661没有token限制。如果一个提示包含超过75个token,也就是CLIP分词器的限制,它将开始一个新的另外75个token的块,所以新的“限制”变成了150。这个过程可以无限延续,或者直到您的计算机内存用尽。
每个75个token的块都是独立处理的,处理后的表示会在输入到Stable diffusion的U-Net之前进行连接。
在AUTOMATIC6666661中,您可以通过查看提示输入框右上角的小框来检查令牌的数量。
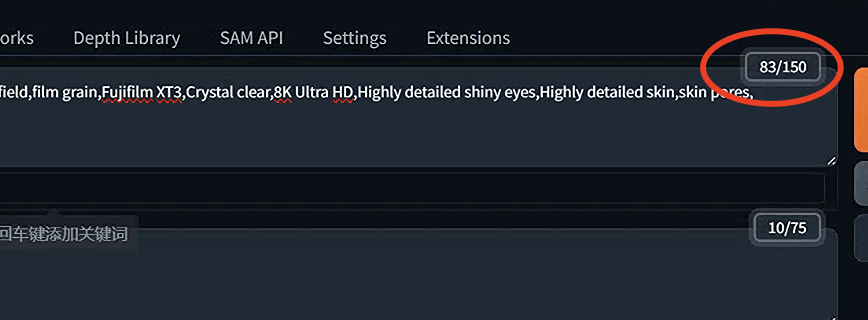
开始一个新的提示块
如果你想在达到75个token之前开始一个新的提示块怎么办?有时候你想这样做是因为提示块开头的标记更有效,而且你可能想将相关关键词分组在一个提示块中。
你可以使用关键词
BREAK
来开始一个提示块。下面的提示使用了两个提示块来指定帽子是白色的,裙子是蓝色的。
A picture of a woman in a white hat
BREAK
Blue skirt
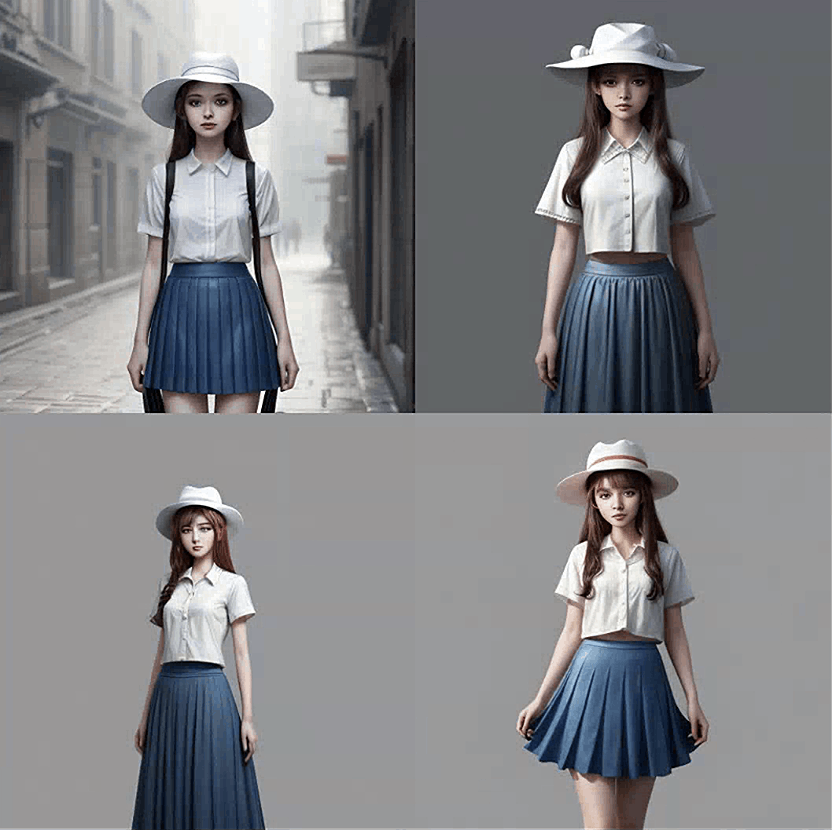
如果没有使用BREAK,Stable Diffusion更有可能混淆帽子和裙子的颜色。
名人姓名的关联
每个关键词都会有一些意想不到的关联。这在名人姓名中尤其如此。一些演员喜欢摆特定的姿势或穿特定的服装拍照,这也会出现在训练数据中。如果你想想,模型训练本质上就是通过关联学习。如果 Taylor Swift(在训练数据中)总是交叉双腿,模型会认为交叉双腿也是 Taylor Swift。
当你在提示中使用 Taylor Swift 时,你可能本意是使用她的脸。但是主题的姿势和服装也会产生影响。可以通过仅使用她的名字作为提示来研究这种影响。
姿势和服装是全局构图。如果你想要她的脸但不要她的姿势,你可以使用关键词混合来在后续采样步骤中替换她。
点我查看更多精彩内容:www.flydean.com