配置文件加密
AES对称加密
AES(Advanced Encryption Standard),在密码学中又称Rijndael加密法,是美国联邦政府采用的一种区块加密标准。这个标准用来替代原先的DES,已经被多方分析且广为全世界所使用。经过五年的甄选流程,高级加密标准由美国国家标准与技术研究院(NIST)于2001年11月26日发布于FIPS PUB 197,并在2002年5月26日成为有效的标准。2006年,高级加密标准已然成为对称密钥加密中最流行的算法之一。
高级加密标准(AES,Advanced Encryption Standard)是密码学中的高级加密标准,AES为分组加密法,把明文分成一组一组的,每组长度相等,每次加密一组数据,直到加密完整个明文,在AES标准规范中,分组长度只能是128位,AES是按照字节进行加密的,也就是说每个分组为16个字节(每个字节8位)。密钥的长度可以使用128位、192位或256位。这导致密钥长度不同,推荐加密的轮数也不同。

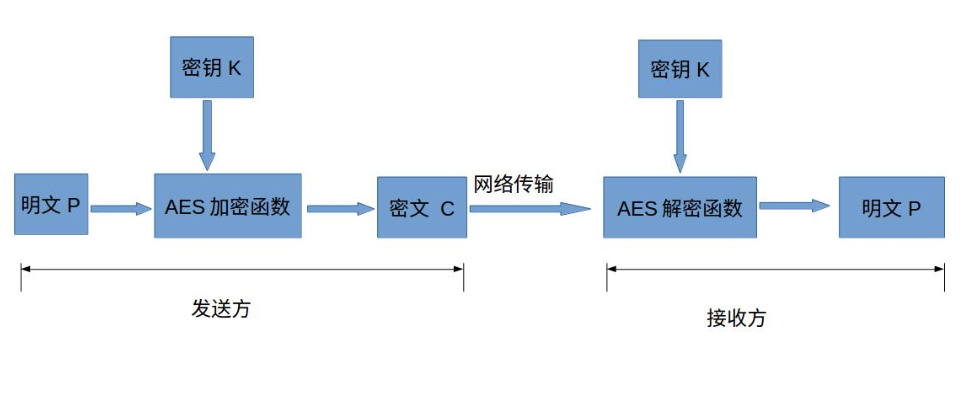
- 明文P
没有经过加密的数据
- 密钥K
用来加密明文的密码,在对称加密算法中,加密与解密的密钥是相同的。密钥为接收方与发送方协商产生,但不可以直接在网络上传输,否则会导致密钥泄漏,通常是通过非对称加密算法加密密钥,然后再通过网络传输给对方,或者直接面对面商量密钥。密钥是绝对不可以泄漏的,否则会被攻击者还原密文,窃取机密数据
- AES加密函数
设AES加密函数为E,则 C = E(K, P),其中P为明文,K为密钥,C为密文。也就是说,把明文P和密钥K作为加密函数的参数输入,则加密函数E会输出密文C
- 密文C
经加密函数处理后的数据
- AES解密函数
设AES解密函数为D,则 P = D(K, C),其中C为密文,K为密钥,P为明文。也就是说,把密文C和密钥K作为解密函数的参数输入,则解密函数会输出明文P
Python Crypto 加密库
# python不同版本不一样
pip install pycryptodome   (python3.7.3)

pip install cryptography    (python3.12.2)
python3.7.3 版本
from Crypto.Cipher import AES
from Crypto.Random import get_random_bytes
from Crypto.Util.Padding import pad, unpad


def encrypt_config(config_file, encrypted_file):
    """加密配置文件"""

    # 生成一个 16 字节的随机密钥
    key = get_random_bytes(16)
    print("Key: ", key)

    # 读取配置文件
    with open(config_file, 'rb') as f:
        plaintext = f.read()

    # 加密
    cipher = AES.new(key, AES.MODE_CBC)
    ciphertext = cipher.encrypt(pad(plaintext, AES.block_size))

    with open(encrypted_file, 'wb') as f:
        f.write(cipher.iv)
        f.write(ciphertext)
    print(f'File encrypted: {encrypted_file}')


def encrypt_config_one_key(config_files, encrypted_files):
    """加密配置文件,多个文件用同一个密钥"""

    if not isinstance(config_files, list) or not isinstance(encrypted_files, list):
        raise TypeError('config_files and encrypted_files must be list')

    # 生成一个 16 字节的随机密钥
    key = get_random_bytes(16)
    print("Key: ", key)

    config_add_key(config_files[0], encrypted_files[0], key)
    config_add_key(config_files[1], encrypted_files[1], key)
    return


def config_add_key(config_file, encrypted_file, key):

    # 读取配置文件
    with open(config_file, 'rb') as f:
        plaintext = f.read()

    # 加密
    cipher = AES.new(key, AES.MODE_CBC)
    ciphertext = cipher.encrypt(pad(plaintext, AES.block_size))

    with open(encrypted_file, 'wb') as f:
        f.write(cipher.iv)
        f.write(ciphertext)
    print(f'File encrypted: {encrypted_file}')


def decrypt_config(encrypted_file, key):
    """解密配置文件"""
    # 解密
    with open(encrypted_file, 'rb') as f:
        iv = f.read(16)
        encrypted_data = f.read()

    cipher = AES.new(key, AES.MODE_CBC, iv)
    config_data = unpad(cipher.decrypt(encrypted_data), AES.block_size)

    print(f'解密后的数据: {config_data.decode()}')


if __name__ == '__main__':
    # file1 = "/home/pi/printer_data/config/printer.cfg"
    # file2 = "/home/pi/printer_data/config/flsun_func.cfg"
    # target1 = "/home/pi/printer_data/config/test/printer_test.cfg"
    # target2 = "/home/pi/printer_data/config/test/flsun_func.cfg"
    #
    # # encrypt_config(file1, target1)
    # # encrypt_config(file2, target2)
    # key1 = b'.)7[\x8c\xab\x12Y\xd6tm\x06\xe2\xd1l\xb5'
    # key2 = b'\xf9\x19Uf\x11\xe9q\x0ci\x87\xe32%\xf8:W'
    # # decrypt_config(target1, key1)
    # decrypt_config(target2, key2)
    config_files = ["/home/pi/printer_data/config/printer.cfg", "/home/pi/printer_data/config/flsun_func.cfg"]
    target_files = ["/home/pi/printer_data/config/test/printer_test.cfg", "/home/pi/printer_data/config/test/flsun_func.cfg"]

    # encrypt_config_one_key(config_files, target_files)

    key = b'F.r\xeaH\xfb\xf5\x9d\xe9_\x1b\xba\rW`\xaa'

    # decrypt_config(target_files[0], key)
    decrypt_config(target_files[1], key)
python3.12.2 版本
import pickle
import configparser

from cryptography.fernet import Fernet
import os

def cfg2bin(file, result_file):
    # 读取配置文件
    config = configparser.ConfigParser()
    config.read(file)
    # 将配置文件对象序列化为二进制文件
    with open(result_file, 'wb') as f:
        pickle.dump(config, f)


def encrypt_config(config_file, encrypted_file):
    """加密配置文件"""
    # 生成密钥
    key = Fernet.generate_key()
    print("Key: ", key)

    # 读取配置文件内容
    with open(config_file, 'r') as f:
        config_data = f.read()

    # 使用密钥加密配置数据
    fernet = Fernet(key)
    encrypted_data = fernet.encrypt(config_data.encode())

    # 写入加密后的文件
    with open(encrypted_file, 'wb') as f:
        f.write(encrypted_data)

    print(f'配置文件已加密并保存为: {encrypted_file}')


def decrypt_config(encrypted_file, key):
    """解密配置文件"""
    # 读取加密后的文件
    with open(encrypted_file, 'rb') as f:
        encrypted_data = f.read()

    # 使用密钥解密配置数据
    fernet = Fernet(key)
    config_data = fernet.decrypt(encrypted_data).decode()

    print(f'解密后的数据: {config_data}')


if __name__ == '__main__':
    file1 = "/home/cln/printer_data/config/printer.cfg"
    file2 = "/home/cln/printer_data/config/mainsail.cfg"
    target1 = "/home/cln/printer_data/config/test/printer_test.cfg"
    target2 = "/home/cln/printer_data/config/test/mainsail.cfg"

    # encrypt_config(file1, target1)
    # encrypt_config(file2, target2)
    key1 = b'FN8eGSYuXtK2K7-X2jUcm6r1FK16PAzdTMOpg6wyLGQ='
    key2 = b'dbBmLzpyO20jqphgQsIbCPxIpNAG-q7s6E8rxu3K4Wo='
    decrypt_config(target1, key1)
    # decrypt_config(target2, key2)
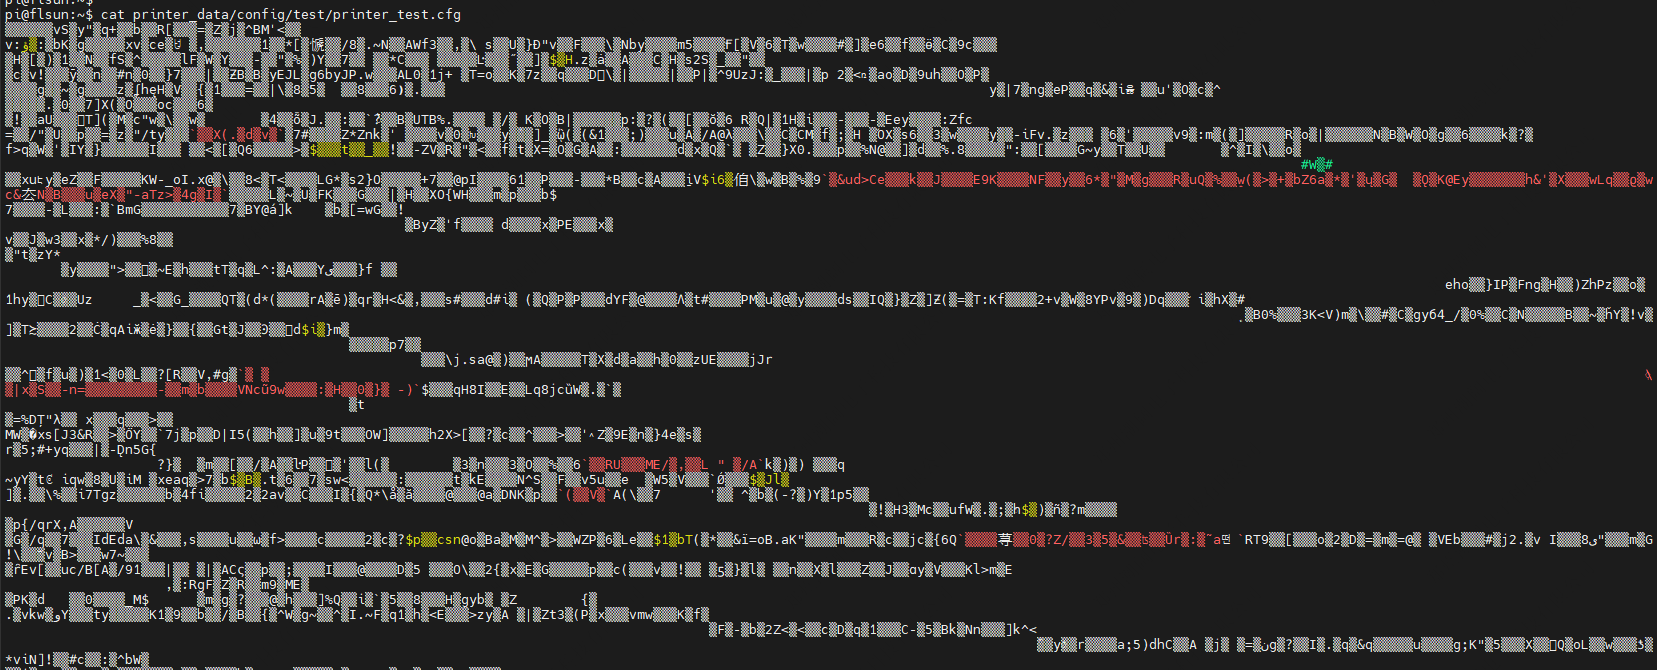
加密效果

涉及模块
- moonraker 动态修改配置文件模块
- klippy 读取配置模块
挤出机配置剥离
- 在打印机初始化加载完配置文件后,只针对挤出机的参数进行赋值,达到弃用配置文件里的参数值
- 挤出机配置参数赋值实现,可以创建一个常量类(放在util目录下),或者单独创建一个挤出机的ini配置,放在klippy目录下
- 或者在toolhead模块加载挤出机对象之前进行挤出机配置参数赋值

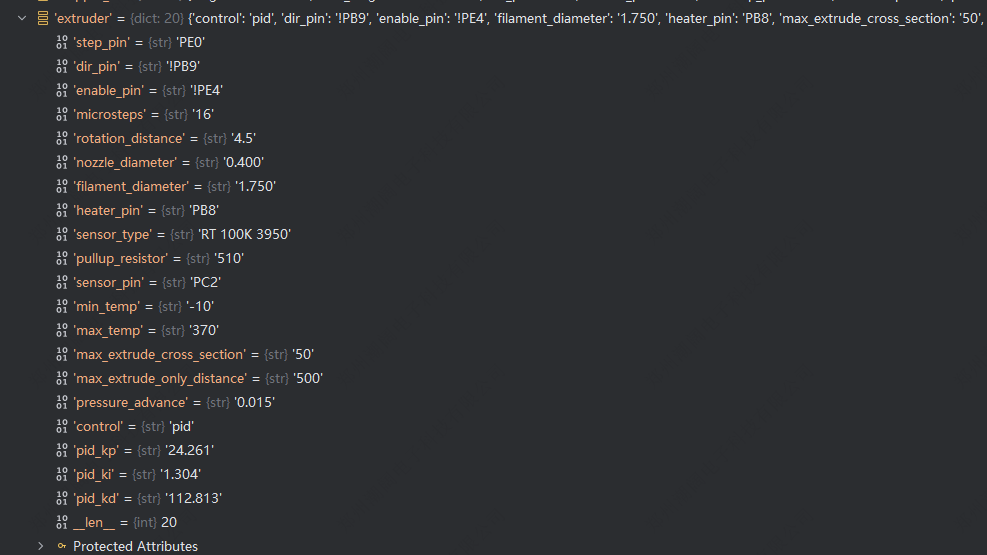
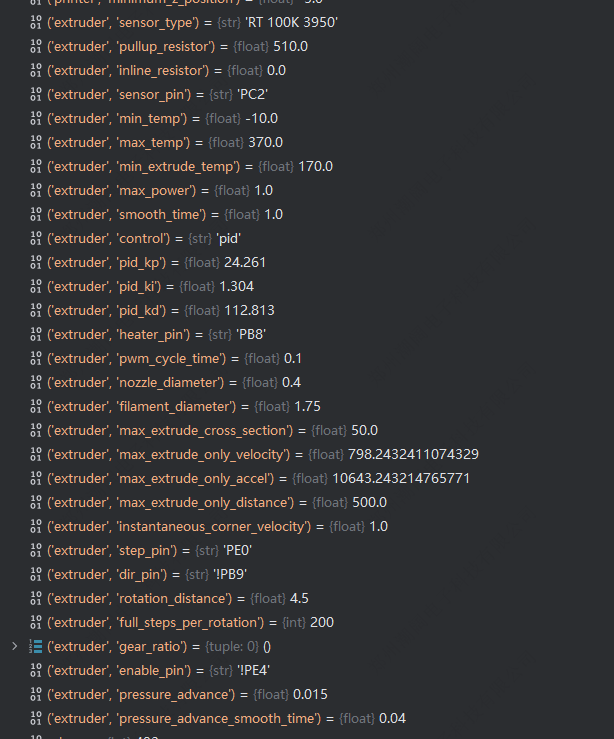
- 配置文件参数

- extruder 用到的所有参数值信息